
Hands On Review: The Brew Bag – Purpose Made BIAB
The Brew Bag is a high quality purpose designed Brew in a Bag/BIAB bag.
It has four loops for lifting the bag out of your kettle, every seam is reinforced for long life and it is available in a number of sizes for kettles, keggles, coolers and more. If they don’t carry the size you want, The Brew Bag will custom make it for you.
See current sizes, availability & specs:
brewinabag.com
Coupon!
Coupon code FET8AD1SDR4S takes 10% off your entire purchase. Promo code via: Brew In a Bag – Bag Material – Does it Matter?
Also: Search The Brew Bag at Amazon, offerings vary
Hands on Review The Brew Bag BIAB Bags
This article contains affiliate links. We may make a small percentage if you use our links to make a purchase. You won’t pay more and you’ll be supporting Homebrew Finds and more content like this. Thank you for your support!
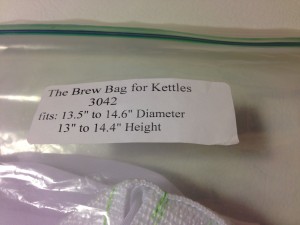 I’m using the 30-42 Quart Size for my 10 gallon kettle.
![]()
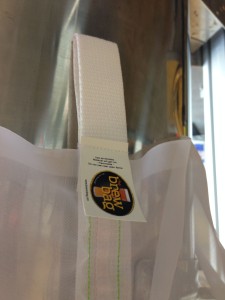 A look at one of the handles and the tag
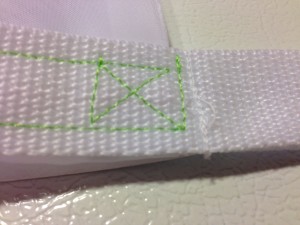 A close up of one of the reinforced corners. Every seam is reinforced.
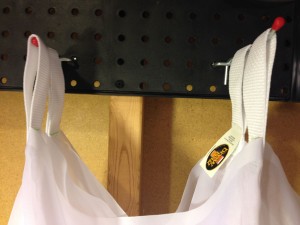 The bag hanging by all four handles from my Bulldog Ultimate Pegboard
 I received a sticker with my bag
 So you can get an idea of the material mesh, here is a picture of the bag on top of the included sticker. Click to enlarge.
 For comparison, here is the mesh of a paint strainer bag that I have used for BIAB. Noticeably different. Click to enlarge.
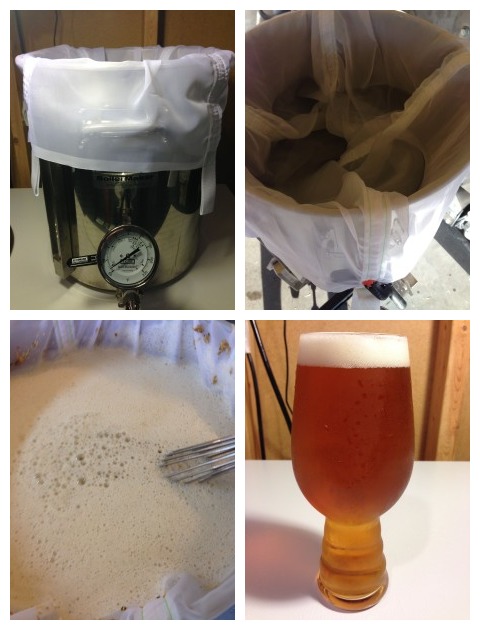
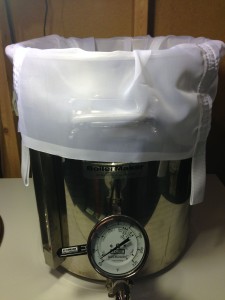 Installed in my Blichmann G1 BoilerMaker Kettle.
 Inside view installed in my Blichmann 10 gallon kettle.
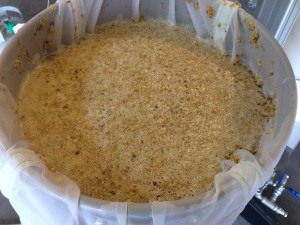 Mashing Great Fermentations’ 1 Hour IPA in the Brew Bag
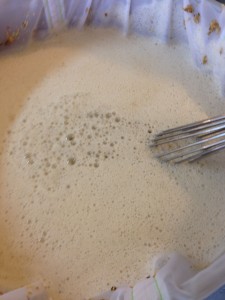
Stirring the Mash using my 24″ Stainless “Brewer’s Whisk”
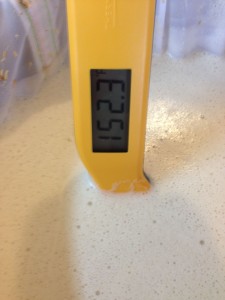 The mash temperature for 1 Hr IPA settling in. Tip: I mashed out this beer. That’s one of the benefits of BIAB – direct fired mash tun = easy step mashes and mash outs. During that process, one of the Brew Bag handles got a little too close to my propane burner and melted just a bit. Don’t do that.
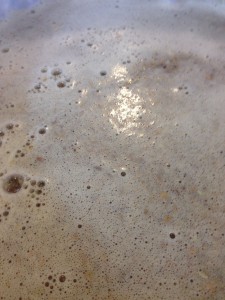 At the end of the mash. Worth Noting: Some people wrap their kettles up with some sort of insulation to maintain the temperature during the mash. I think that’s a great idea. However… I don’t do it. When you add in all the water up front, the mash for a 5 gallon batch is considerably. It maintains temperature reasonably well with no insulation. Sometimes I will fire up my propane burner half way though (stirring the entire time) to get back up to desired mash temp.
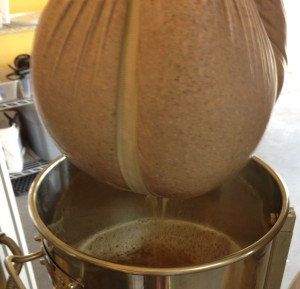 Draining the Bag. I recommend using High Temp Gloves to make this easier. BIAB has a bunch of benefits including 1. Cost, 2. Simplicity, 3. Generally faster than other methods, 4. Less to clean up, 5. Less to store and 6. Because you have a direct fired mash tun, it’s easy to do step mashes and mash outs. I’ll add one more to the list… if you have a Kettle with a sight glass in it, like Blichmann’s BoilerMaker, or you otherwise have a way to easily measure volume, you can… hit your pre boil volume every time. I’m holding the bag here, and looking at the sight gauge. I did that until I hit my desired pre boil volume. Whammo.
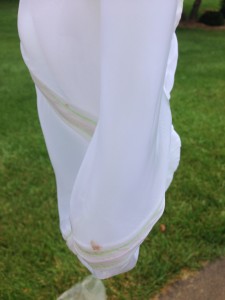 Cleaning your mash tun (the bag) is as easy as dumping the grain out and rinsing the bag. Here is what the bag looks like after rinsing it with… discarded wort chiller water. I do take it in the house and clean it more thoroughly, but…it’s in pretty good shape after a rinse with re-used wort chiller water.
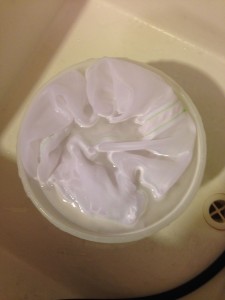 A soak in hot PBW followed by a good rinse and dry and it’s ready to be used again.
 A look at the final product… a Spiegelau IPA Glass filled with delicious 1 HR IPA
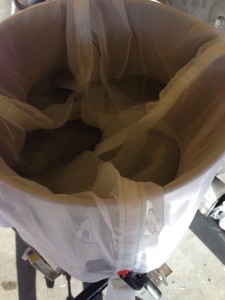 Here’s a look at the Brew Bag installed in the Blichmann G2 [Review]. It’s pretty well the exact same size as the G1, so it fits the same. The G2’s flat handles are a great place to use a clamp to secure the Brew Bag in place. Tip: Install the Brew Bag in your dry kettle first and make a note of where it should sit in the kettle so that the bottom of the bag doesn’t touch the bottom of the kettle.
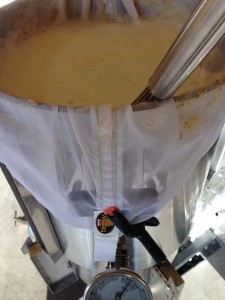 Mashing More Beer’s M-80 IPA
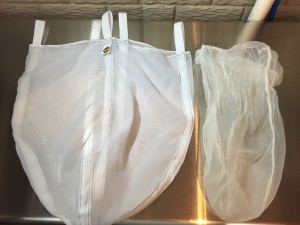 Small Batch Brewing. After using the Brew Bag for full 5 gallon batches, I was motivated to give up my old paint straining bag for doing small 2.5 – 3 gallon BIAB batches. This photo shows the small sized (20-24 quart) Brew Bag next to my previous paint strainer bag. Not. Even. Close.
 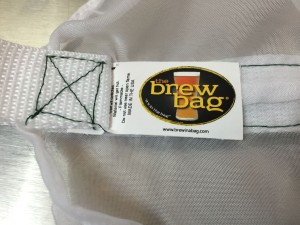 Logo on the small bag
 Of course, the small bag sports the same quality material, stitching, reinforced seams and handles as the larger version.
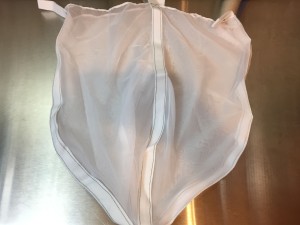 A look at the small bag
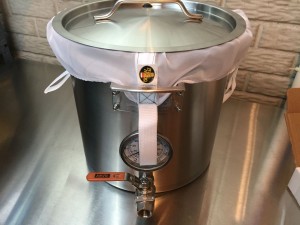 This fits perfectly in Anvil Brewing’s 5.5 Gallon Kettle [Review]
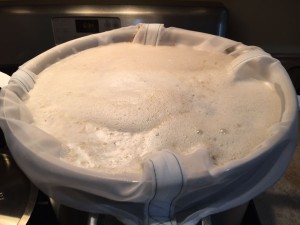 Brewing a half batch of Great Fermentations “Piney the Welder“
Features (from brewinabag.com):
- Use again and again – not a throw-away bag
- 1″ polypropylene straps for easy pick up using your hands or a pulley and hook
- Seams are on the outside – no particulates get trapped in the bag
- Use it as your hop bag – but it must be suspended above the kettle bottom
- The straps cover the seams and bear the strain on every use – this bag will last and last
- Holds over 100 pounds of grain
- Hand wash and drip dry
The Brew Bag is available in a variety of sizes for kettles, keggles and coolers. If they don’t have the size you’re looking for, they will custom make it based on your needs.
Check out the instructions page on www.brewinabag.com for step by step instructions on BIAB.
Conclusions
I’ve done quite a bit of BIAB brewing. I’ve used a few different types of bags. Having used the Brew Bag for quite a while, I can tell you that it’s the highest quality bag I’ve used. It is purposed designed, by a homebrewer, for homebrewing and that shows. From the reinforced seams to the handles to the availability of a number of sizes [and custom sizes] to the quality of the fabric. I can wholeheartedly recommend the Brew Bag for BIAB brewing.
See current sizes, availability & specs
brewinabag.com
Coupon!
Coupon code FET8AD1SDR4S takes 10% off your entire purchase. Promo code via: Brew In a Bag – Bag Material – Does it Matter?
Also: Search The Brew Bag at Amazon, offerings vary
Check out our brewinabag.com coupons page for current deals
Check out My BIAB Water Calculation Spreadsheet with narrative directions. It makes figuring water temps and amounts easy,
More BIAB-Related!
- BIAB Brew Day Spreadsheet – easy water and temp calculations
- The Brew Bag – Purpose Made BIAB
- Get a Bag! Search Amazon for “BIAB Bag”
- Brew In a Bag: Brew fantastic craft beers at home using the All Grain brew in a bag method
- Small Batch, All Grain Stove Top Brewing Using BIAB
- Should You Buy a Homebrew Grain Mill?
- All Grain Tips & Gear
- BIAB: Brew in a Bag – Easy All Grain Homebrew! – Gear, Resources & Reviews
Get a Deal on Bulk Malt
Vittles Vault for Grain Storage!
More Homebrew Finds!
- Last 50 Finds!
- Top Deals – a curated list of the best deals
- Homebrew Reviews – one of the largest libraries of homebrew reviews in existence!
- Our Top Posts – tips, how-tos, resources posts and more
- Let’s be Friends!
Recent Deals!
10 Most Recent Homebrew Resource Posts & How-To’s!
We are Homebrew Review HQ! Our 10 Most Recent Reviews
pinnedThis post may contain affiliate links. We may make a commission when you use our links. This will never cost you extra. Thank you for supporting Homebrew Finds!
greatdealsSpecial thanks to Rex at The Brew Bag for providing me with a bag to try out.
Also: All Grain Tips & Gear
pinned
This post may contain affiliate links. We may make a commission when you use our links. This will never cost you extra. Thank you for supporting Homebrew Finds!
greatdealsMake sure the components you use are compatible and rated for your intended application. Contact manufacturer with questions about suitability or a specific application. Always read and follow manufacturer directions. tag:lnksfxd review:thebrewbag tag:tpr






How or will this s work for a 10 GAL batch ?
It should work great. Just get the right size for your kettle and you’ll probably want a pulley setup to help lift it. Rex also sells a couple models of pulleys.
Would this be a viable alternative for false bottoms for Mash Tun Coolers? It’s $30 for the bag (plus a valve and bulkhead) or $68 10G COOLER TO MASH TUN CONVERSION KIT
Yep, this is a viable alternative to a false bottom.
I love the Brew Bag. It really streamlined my process.
I did notice a small decrease in efficiency. Last time through I was targeting a starting gravity of 1.054 from the recipe. Actual starting gravity was 1.050. How do others combat this? Increase the mash time to 90 minutes? Or just increase the grain bill?
We recommend using the bag for ALL hop additions! We also recommend using a plate chiller – because there is nothing in the wort to clog it.
You got it!
Great write up! I’ve been eyeing these for a couple months now.
Have you or would you recommend 15 gallon batches using this bag?
I now use 2 bags which makes lifting the soaked grain out easier (by half, it turns out…). I like the purpose-built aspect of these bags and that they will custom sew to pot size. I just don’t want to find I can’t get the bag out of the wort. A hoist is not an option in my kitchen.
Thanks!
Mike – we stock a bag for 15 gal kettles – but using it in your kitchen would be cumbersome and dangerous. The bag will hold 100+ pounds – in fact we’ve pulled a car with it!
Thanks – great info. Sounds like you may not have had a chance to try it during the boil, but besides hops, how do you think this bag would do catching trub?
Along those lines, I’m guessing that if you use an immersion chiller you would have to unclamp the bag, place the immersion chiller inside the bag in the kettle and then reclamp so that you could filter out the cold break? I could imagine some very clear wort getting transferred to your fermenter if it could work that way.
I’m all for giving it a try as a hop bag, but I hadn’t thought about it as a general post boil filter. It’s an interesting idea. The only real difference would be chilling inside of the bag. Probably worth a try, Maybe… revolutionary. Good idea!
We use our bags as a hop filter – but we suspend it in the kettle using our overhead pulley system. We do NOT recommend using the bag while the flame is on any another way. But, there is mo trub in the kettle except for cold break – which, flows right through our plate chiller. I’m not sure why you’d put the immersion chiller in the bag since by lifting the bag, all the hop matter is removed from the kettle and the cold break would likely run through the bag anyway.
Hi Rex, Im confused with your replies, could you clarify:
1) “We recommend using the bag for ALL hop additions! ”
2) “We do NOT recommend using the bag while the flame is on any another way.”
Dino – unless the bag is suspended – we do not recommend using it while the flame is on. I think that answers both?
Thanks for another great write-up. Do you clamp the bag so that it doesn’t touch the bottom of the kettle during both mashing and boiling (as a hop bag)? What sort of clamps do you use that will support the weight of water-soaked grain while mashing?
Great question. I clamp the bag so it doesn’t touch the bottom and so that it generally stays in place. It’s a bit larger than the kettle, so that touching the bottom could be an issue. Even if it was undersized, you would want to secure to the kettle in some way. Otherwise it would end up working it’s way into the kettle. I’m just using cheapo Menards plastic clamps. The clamps don’t really need to support much weight. The grain is floating, so the water is supporting the weight.
Did you find the probe for your kettle thermometer was an issue with inserting/removing the bag full of grain?
No, that hasn’t been an issue at all. The Blichman probes aren’t overly long and the tip is blunt. No issues.
During the boil? If so, good question. My guess is very good, but I can give it a try.
I have been thinking about doing some BIAB 1-2G batches for some quicker brew days and general experimentation. Might prefer a custom one that’s a bit smaller to fit in 16 qt pot…
nice write up!