Hands on Review: Brewfather App! – Recipe Formulation, Calculators & Brew Day Tools
Updated: January 17, 2025
This review is by Homebrew Finds Contributor Brad Probert. Brad is an engineer, expert homebrewer and experienced reviewer. Grab a link to Brad’s website at the end of this review.
Brewfather App
Depending on your brewing personality, you might take notes on paper, do no recipe calculations at all, or use brewing software. I started using BeerSmith when I moved to all-grain brewing, since there were more variables to control when making a recipe and more process steps to keep track of. I’ve been using BeerSmith 2 for the past 5 years, and that’s established my baseline expectations of brewing software. That’s the perspective used when I evaluated the Brewfather software.
Give it a Try!
Brewfather offers a free full feature trial. After the trial period, you’ll still have access via a limited, non-expiring account
Our 10 Most Recent Reviews | Great Deals – Our Last 50 Finds
This article contains affiliate links. We may make a small percentage if you use our links to make a purchase. You won’t pay more and you’ll be supporting Homebrew Finds and more content like this. Thank you for your support!
What I’ve found with BeerSmith is that it pretty much has everything I need, but some features are a bit more cumbersome to use than I would like. Although there are limitations or some awkward features, it works and I know how to use it. And more importantly, my entire recipe history of all-grain exists within it. So when someone told me about Brewfather and suggested I check it out, I was apprehensive. I felt like I had so much time invested in BeerSmith, and I didn’t want to have to go through re-learning everything again in a new software. But I tried it anyway.
The Basics
Brewfather isn’t a software that you load on your computer, the software exists on Brewfather’s servers. So there’s nothing to install or configure. You access it through a web browser interface, but it’s much fancier than that. You have the exact same interface and full toolset whether you’re running it on a laptop, a tablet, or a smartphone. Once you’ve created an account, your login credentials work in all of those environments to seamlessly give you access. And since it’s running off a server, all of those devices have access to the same information at the same time. If you change a recipe on your phone, it automatically shows up on your laptop. If you’re running a brew timer on your laptop and then close that down, you open it on your smartphone without missing a beat. And in these settings, it also allows you to work offline and then sync your data when you get back online.
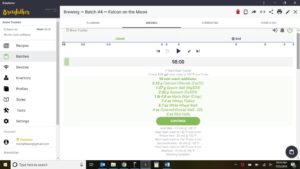 Brew Timer in Action
Because it’s a server-based software, it stays funded by users paying a licensing fee. You can have full access to the calculators for free, but the free membership only lets you store 10 recipes, and doesn’t allow certain features. To go beyond that, you have to pay for the Premium Membership, which is $2/month, or $20/year if you pay for the full year at once.
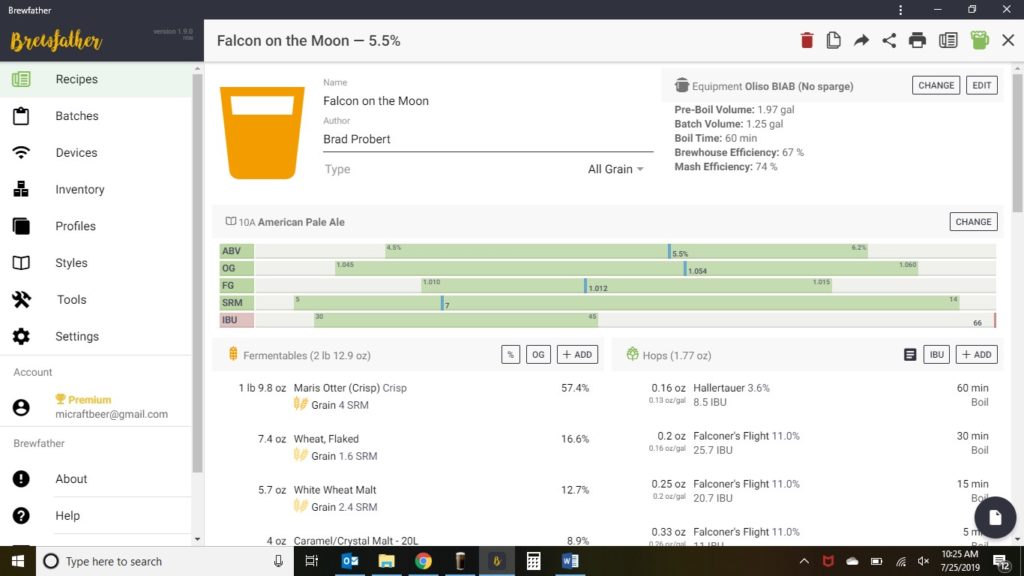
Recipe generation is straightforward, with a large database of grains, hops, and yeast to pick from to build your recipe up. As you add ingredients, a recipe graphic shows how your recipe measures up against the beer style guidelines that you’ve picked. As you add your grains, you can either add the amount and see the resulting % of mash and OG, or alternatively, you go into your grain list and select the percentage of the malt bill you want each grain to make up and it automatically calculates the weight. Or even better, you select the OG you want, and it will ratio up your grains to meet that OG and keep the percentages the same. Hop additions have similar tools where you can select the IBU and it will ratio your hop weights to hit your target IBU. When you select your yeast, there’s a pop-up calculator where it will calculate the particulars for a yeast starter where you can customize things like pitch rate and yeast age easily. A water calculator is integrated into the recipe builder for easy adjustment of target water profile and auto-calculated mineral additions to hit your target.
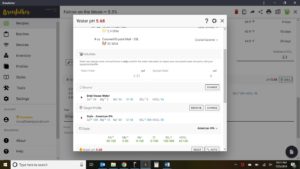 Water Adjustment Tool
After you’ve built your recipe, brew day features are built in. With the brew timer directly fed from your recipe, it maps out your brew day with step-by-step instructions. It starts by telling you the strike water volume and temperature and prompting you to get that going. When you click to tell it you’ve reached strike temperature, it spits out the list of brewing salt additions and grains. You confirm that you’ve mashed in, and the timer starts for the mash time you had set up in your recipe. An alarm with pop-up window tells you when the mash step is over, and tells you the next target temperature. When your mash steps are complete, it guides you through sparging and tells you how much wort to collect for the pre-boil volume. Stepping into the boil phase, it prompts you for boil additions at the appropriate time, and even post-boil whirlpool additions. And as I mentioned before, this is all synchronized on whatever device you’re looking at (even if simultaneously open on a laptop in one room and your smartphone in another).
To list all of the features and functions within the software would be exhausting and would just turn into a replicate of the owner’s manual. You can import and export recipes, so if your BeerSmith veteran like me, you can pull over your favorite recipes. You can build equipment profiles and customize them for fill volumes, lost volumes, etc. The equipment profile has a tool to precisely characterize the thermal properties of your brew rig for infusion mash additions with a simple experiment. You can customize water profiles, ingredient profiles, beer styles- pretty much everything.
Hands on Review
First and foremost- bug free. I discovered no glitches, no weird “just click on it twice, even though you shouldn’t have to” bugs, and the transitions from laptop to phone and back were likewise flawless. I loved the ability to start my recipe at home on my laptop before going to work, finishing it up on my work computer, and even tweaking it while at the homebrew shop when I found they didn’t have the particular hop I was planning to use. I didn’t have to take a note somewhere and go back to update the master copy, I had access to the master copy anywhere I went. I was even impressed that during my brew session, when I realized I hadn’t set up the mash profile to what I wanted, I was able to go in, edit it, and jump back out, all without disrupting the brew timer, and instantly incorporating that tweak to the active session.
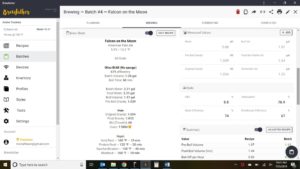 Brew Session Data Entry and Realtime Statistics
Recipe creation was great. Not that I ever found it that hard in BeerSmith, but Brewfather made it somehow easier, and felt more flexible. But by far, my favorite feature was the “Batch” concept. You build your Recipe, and that becomes your “master copy”. When you’re ready to brew, you click on a button within your Recipe to start a Batch, which copies your recipe as the starting point. But if you want to make a 5 gallon batch this time instead of a 2.5 gallon batch, you change it in the settings for that Batch, and the recipe master remains untouched. If you are brewing your favorite recipe, but in a new piece of brewing equipment, you handle that in the Batch. If the AA% of the hops you’re using are slightly different than your recipe, you change that in the Batch and let the software adjust to maintain your IBU. If you want to experiment with a different yeast this time, you do that in your Batch. All of these brew session variations off your master recipe are stored together as a subset of your recipe. You don’t have multiple copies of a recipe strewn about with minor variations. This is perfect for those of us that try to perfect a certain recipe, or want to keep detailed notes of all the minor set-up variations from batch to batch.
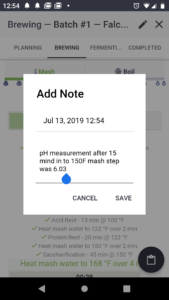 Adding Brewing Notes on Brew Day- Typos Optional
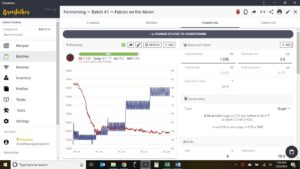 Tilt Data Logging Linked to Batch Record – Tilt Hydrometers – Hands on Review
The other thing that grabbed my attention when I heard about Brewfather was the integration it has with Tilt (or other various brewing devices). Every batch I brew, I track fermentation progress with a Tilt Bluetooth hydrometer. With Brewfather, it gives me an http:// address to type into my Tilt App settings and then it sends all of its gravity & temperature logging data to my Brewfather account. In my Batch tracking, once brew day is done, I can move it into the fermentation stage and then tell it which Tilt is tracking fermentation. Then within that Batch record, you can pull up the exact fermentation profile. Without Brewfather, I map my Tilt to write data to Google Sheets, then print out a hard copy later and tape it into my brewing journal. Having the complete history in one online dataset, seems like a great record-keeping process. And being able to record gravity readings, pH readings, volume readings, and any other notes in one Batch record in the midst of my brew session, pretty much makes my brewing notebook obsolete (in theory).
Related, Review Continues Below:
Hands on Review: Tilt Bluetooth Fermentation Hydrometer!
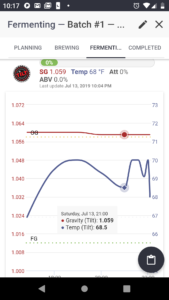 Tilt Data Plot on Smartphone with Data Smoothing On
Conclusions
Overall, the layout is well thought-out, with all the various calculators and brewing tools integrated in at logical points rather than having to go search for functions. The operation was flawless for me, which of course is super-important since you don’t want a brew day timer to freeze up on you in mid-batch, or risk losing a great recipe that turned out great. The ability to track Batches off of one Recipe is a feature I really loved, as well as having full access with whatever computer/smartphone I wanted to use. And lastly, being a big Tilt user, it’s great to be able to have this functionality integrated with all my brew records rather than a separate set of data/graphs. So even though I hate the concept of having to pay for software on an on-going basis, with all of this functionality stemming from its server-based operation, I’m on board.
Give it a Try!
Brewfather offers a free full feature trial. After the trial period, you’ll still have access via a limited, non-expiring account
Related: Great Deals – Our Last 50 Finds
Homebrew Reviews and More! Check out our extensive homebrewing reviews library, our collection of resource posts and connect with us!
Brewfather works with iSpindel!
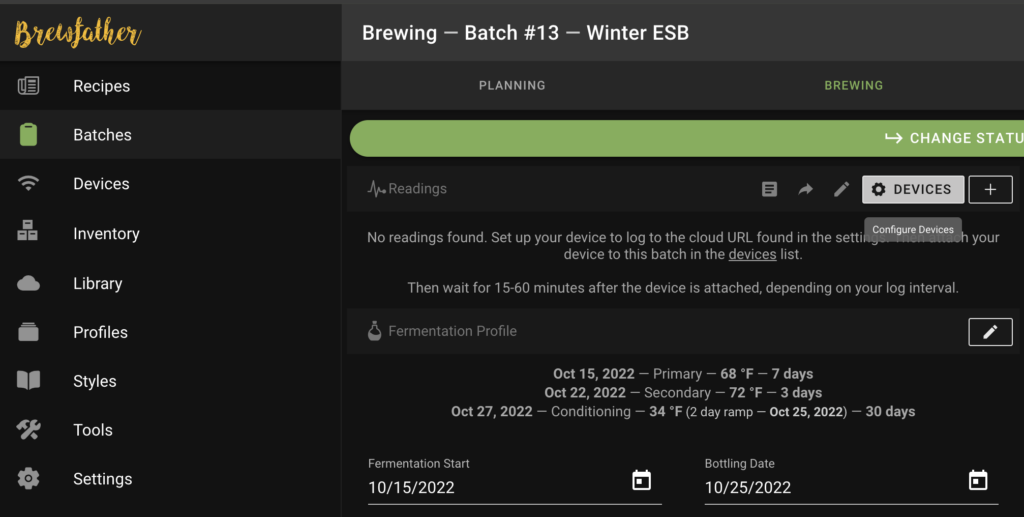
Brewfather works with iSpindel. Check out our iSpindel Review for lots more on that.
More Photos
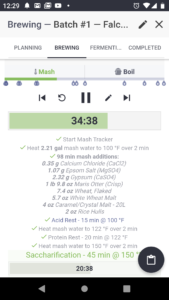 Brew Timer on Smartphone
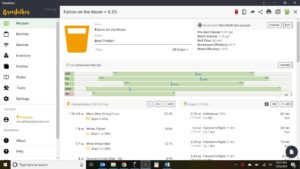 Recipe Builder with Visual Beer Stats vs Style Guidelines
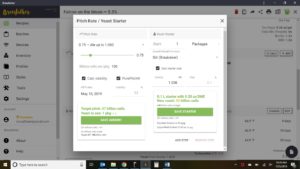 Yeast Starter Calculator Pop-up
More Homebrew Finds!
- Last 50 Finds!
- Top Deals – a curated list of the best deals
- Homebrew Reviews – one of the largest libraries of homebrew reviews in existence!
- Our Top Posts – tips, how-tos, resources posts and more
- Let’s be Friends!
Recent Deals!
10 Most Recent Homebrew Resource Posts & How-To’s!
We are Homebrew Review HQ! Our 10 Most Recent Reviews
Special Thanks Brewfather for access to their software for evaluation in this review.
By Brad Probert. Check out Brad’s website – beersnobby.com
pinnedThis post may contain affiliate links. We may make a commission when you use our links. This will never cost you extra. Thank you for supporting Homebrew Finds!
greatdealsPrice, promotions and availability can change quickly. Check the product page for current price, description and availability. tag:lnksfxd review:brewfather rs:8 #tag:tpr
