Damp Kegerator? Fix Kegerator Condensation!
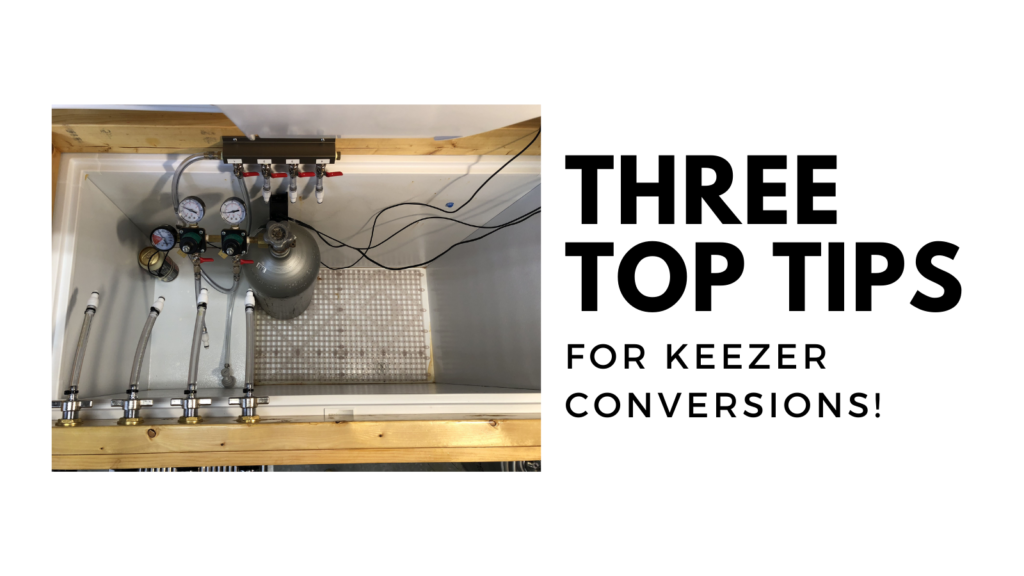
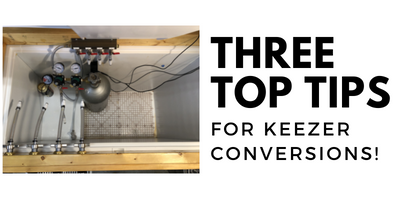
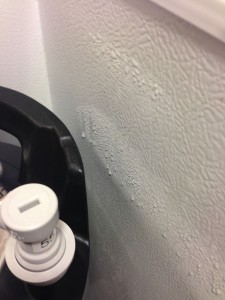
I use a converted chest freezer as my kegerator/keezer. With the aid of some modifications like a collar and an overriding thermostat, it works really well. The big downside I’ve experienced is… condensation. Not just beads of water on the sides, I had pooling water in the bottom. Not a good thing. This varies by how often I’m in it, the season and current weather, but the fact is, a chest freezer just isn’t designed to deal with condensation like a refrigerator is.
Get Current Price & Shop Around, How-To Continues Below:
- Eva-Dry E-500 Renewable dehumidifier, Pack of 2
- Canada: Eva-dry E-500 Renewable Wireless Mini Dehumidifer
- Eva-Dry Wireless Mini Dehumidifier, White (E-333)
- Canada: Eva-dry E-333 Renewable dehumidifier
- Shop Around: Search Amazon for “rechargeable dehumidifier” to see what other models may be available
These are affiliate links. Note that multiple variations of these products may be available, as such a different version may appear at these links
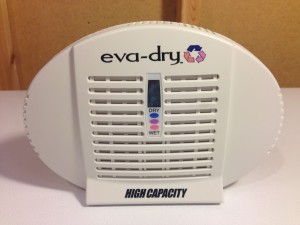
Enter the Eva-Dry E-500. The Eva Dry contains a desiccant material that absorbs moisture. The beads inside this unit absorb moisture. As they do that they change color. When they have gone from blue to pink, you know it’s time to “renew” the unit. This is done by removing it from the kegerator and plugging it into an outlet. The integrated heating element drives off any built up moisture. When the beads turn blue (overnight), you’re ready to go. I don’t have to do this often, usually every couple months.


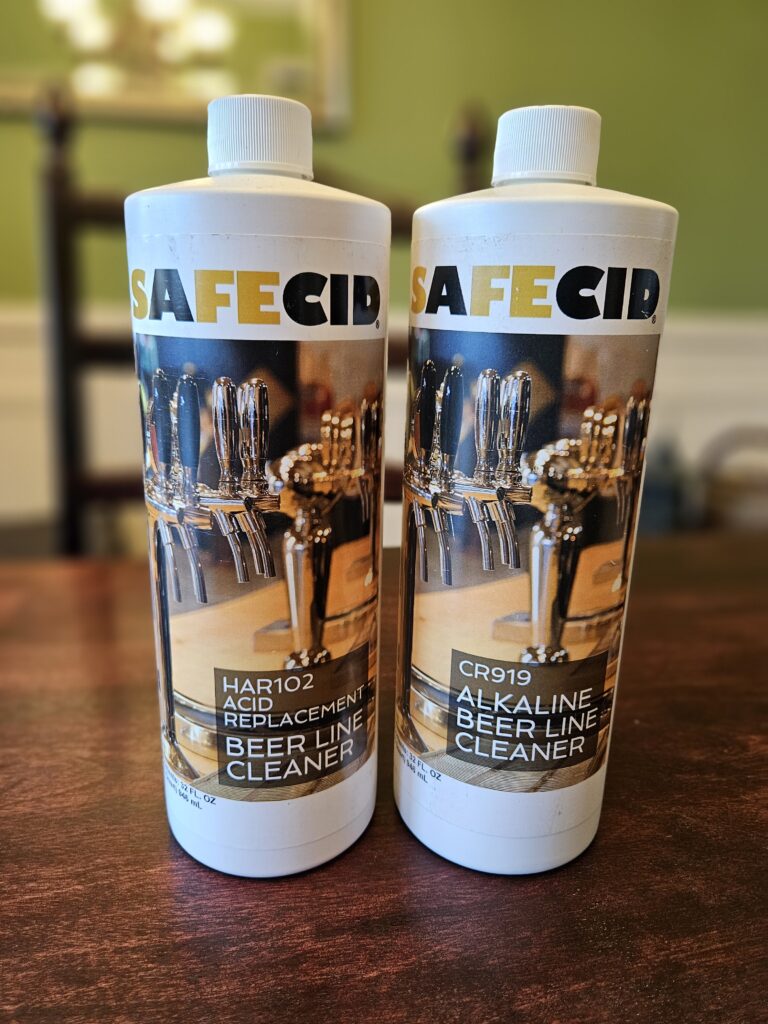


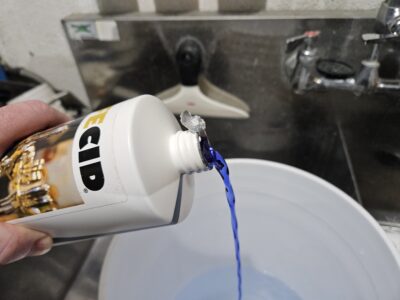 Alkaline Cleaner Distinct Blue Color