Category Archives: Reviews & Top Posts

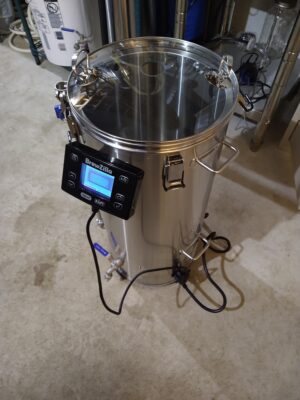
Hands on Review: BrewZilla Gen 4 All Grain Brewing System

Updated: September 18, 2024

This review is by Homebrew Finds Contributor Brad Probert.  Brad is an engineer, expert homebrewer and experienced reviewer.  Grab a link to Brad’s website at the end of this review.

Hands on Review BrewZilla Gen4

I’ve brewed on several different all-in-one units. Like any brew system, they each have their own strengths and weaknesses. I did a hands-on review of the Robobrew when it first came out in late 2016. It has since changed its name to BrewZilla and is on the 4th generation of the brew unit. As you’d expect with repeated generations, they’ve been able to focus on fixing deficiencies in their previous models and also introduce new features.


New Article: BrewZilla Tips and Tricks!

BrewZilla Gen 4 Temperature Control and Programming Tips and Tricks


The basic premise of an all-in-one brewing system is that your mash and boil kettle are in the

same vessel. So just like Brew In A Bag, after mashing, you pull the grains out and the wort stays behind to be boiled. They use electricity for heat, so they can be used outdoors where you can reach power or indoors where you have a venting system that can take care of all the steam you make during your boil.
BrewZilla Without Jacket
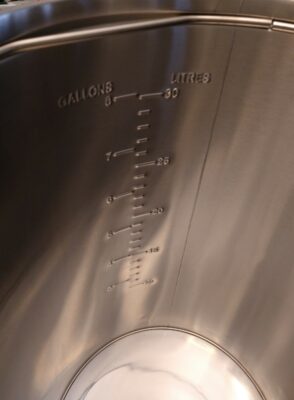
Stamped Volume Markings

Here are some basic stats on the Gen4 BrewZilla. It’s available in a 35-Liter form (for 5-6 gallon batches) with either a 110V setup, or 220V. There is also a larger 65-Liter that is only 220V (targeted to 10-12 gallon batches). The 35L unit holds 9.25 gallons, the mash basket can hold up to 23.5 lbs. of grain, and its electric heating elements can output up to 1500W of power (110V system) or 2400W of power (220V system). The 65L unit holds 17.1 gallons, the mash basket holds 41.5 lbs. of grain, and 3500W of heating power. All the Gen4 units have a pump bolted into the base. The pump can be used not only for wort recirculation during the mash, but also to pump beer through your wort chiller apparatus (should you choose to not use the immersion chiller coil included with the BrewZilla). The pump is more modular and accessible than previous Gen models. To protect the pump from clogging with hop debris during the boil or whirlpool, there is a filter screen (a perforated stainless disc that sits at the bottom of the unit) that sits at the bottom of the kettle. The small magnetic drive pump has a pump head rating of 1.5 – 2.1 m (4.9 – 6.9 ft) and a max flow rate of 11-12 L/min (2.9 – 3.2 gal/min).
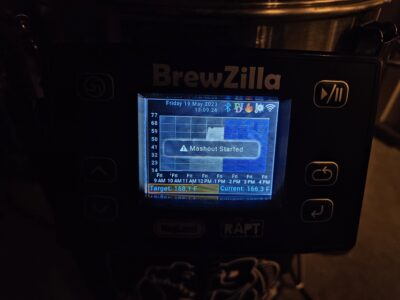
Control Panel Notification During Mash Profile

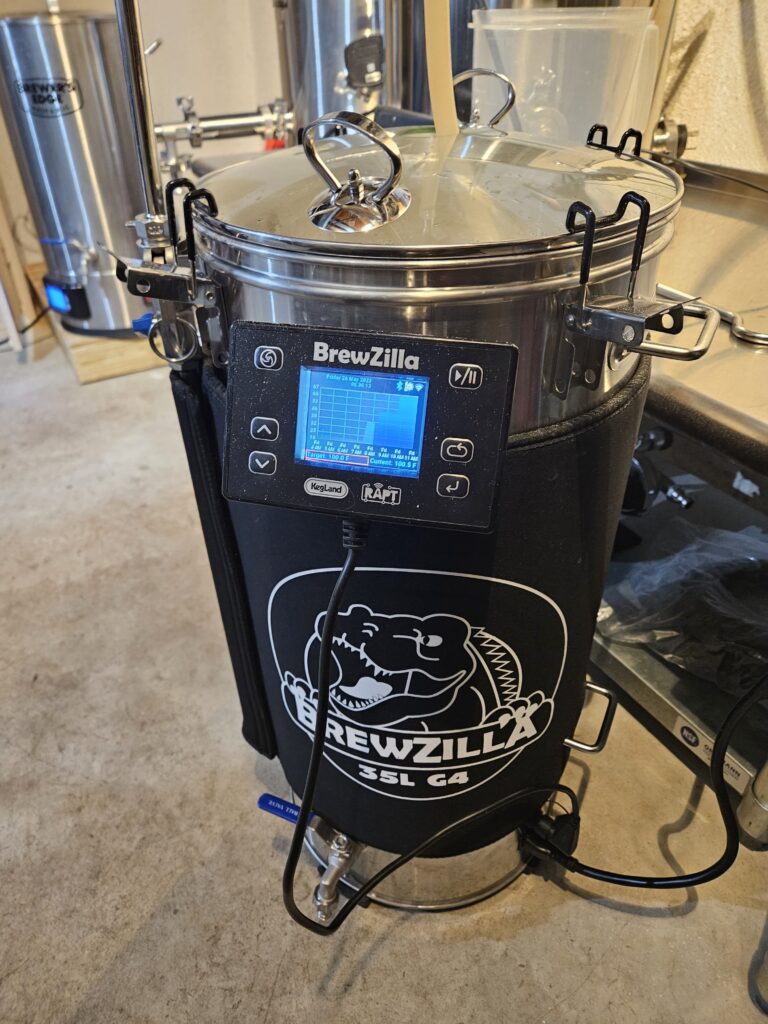
One of the key upgraded features of the Gen4 BrewZilla is the controller. RAPT Is Kegland’s line of wireless connected brewing devices. The BrewZilla now has a RAPT controller so it adds a lot of features that can be monitored and controlled over Wi-Fi. This includes basic things like monitoring temperature from your laptop/cell phone, but also allows you to program complex mash programs online and then download to your BrewZilla. You can also adjust control parameters on the fly such as pump output duty cycle and heater output level. If you get the optional Bluetooth thermometer, you can stick the temperature probe into the middle of your grain bed, and then have the controller use that as its control signal in combination with the built-in temperature sensor that sits on the floor of the unit.
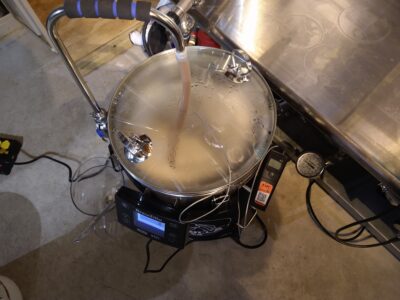
Bluetooth Temp Probe in Middle of Mash

Although All-in-One units are essentially BIAB, they use a stainless steel basket with holes in the bottom of it instead of a bag, and call it a “malt pipe”. These provide functional improvements over a nylon bag. The obvious one is they are way easier to clean. But they also allow you to ensure you get full flow through your grain bed by having holes only on the bottom. This means recirculating wort has no sneak paths out the side. The other benefit is malt pipes have simple brackets/feet welded onto the outside that allow you to lift your wet grains up and prop the malt pipe on the brew rig to drain or sparge. The BrewZilla has 2 sets of feet for this. One set is halfway up, allowing you to do the deadlift of grain & wort halfway and then let the liquid level drain down. Then when you lift it the full height, it’s not as heavy. It’s simple, but makes the process much better.
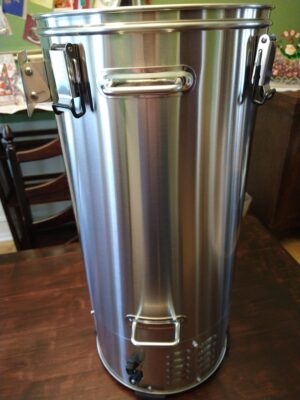
Welded-on Carry Handle (top) and Tip Handle (bottom)

There is a cool feature in the BrewZilla which normally only comes on much higher end systems, and that’s the central drain. With a concave bottom with a drain at the lowest point in the center, you don’t have to leave wort behind or goof around with tilting it to get the last drops of wort out at the end. This also enables the malt pipe to extend down lower and thus you can hold more grain (30% more than their Gen3). If you compared to other All-in-one units in the “5 gallon batch” size range, the 23.5 lbs. grain capacity is 30 – 50% more. This of course only matters if you’re trying to make high gravity brews. The drain in the floor is plumbed to the inlet of the pump below, and then you can direct pump output either to an external spigot for fast/easy transfer of wort out after brewing, or up the recirculation pipe for wort to get directed down on top of the mash.
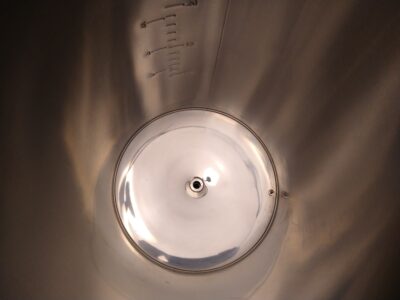
Polished Bottom with Center Drain and Built-in Temp Sensor to Side
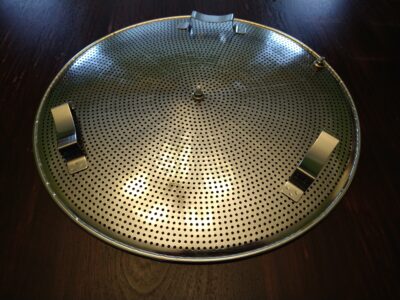
Bottom Side of Pump Filter Plate

To help with mash efficiency and mash temperature uniformity, they offer a Heat Exchanger Dish, which is just a stainless dish/plate that sits below your malt pipe and above the central drain. Without this dish in place, the flow of recirculating wort tends to go through the center of your grain bed, and straight out the drain. With the dish there, it directs the flow around the full circumference before it gets to the drain, which helps ensure a broader portion of the grist sees the flow.


Compare Prices, Review Continues Below:

Related: BrewZilla Gen 4 Temperature Control and Programming Tips and Tricks
Continue reading

BIAB: Brew in a Bag – Easy All Grain Homebrew! – Gear, Resources & Reviews

Brew in a Bag, also known as BIAB is a bit of a misnomer.  Brewing in synonym for boiling.  We’re not really boiling in a bag.  BIAB deals with the mashing, lautering and sparging phase of all grain brewing.  What’s really going on is Mash in a Bag or MIAB.  Having said that, BIAB is the term that’s commonly used and we’ll stick with that.

What is BIAB and how is it different from traditional mashing?

In traditional all grain homebrewing a mash takes place in a mash vessel aptly called a mash tun.  During the mash enzymes convert complex carbohydrates into simple sugars that can be fermented by brewer’s yeast.  Homebrew mash tuns take many forms but a typical setup is a cooler combined with a false bottom or screen. After the mash is complete a sparge takes place to rinse residual sugars from the now spent grains.  This can take a couple of different forms in homebrewing either fly/continuous sparging or batch sparging.

in BIAB we simply substitute a bag filter for the false bottom and any required fittings and ball valves.  The cooler is typically replaced by your boil kettle.  Same chemistry behind the scenes and the same basic outcome – complex carbohydrates converted to simple sugars ready to be fermenter.  Just a change in equipment.

More about BIAB!

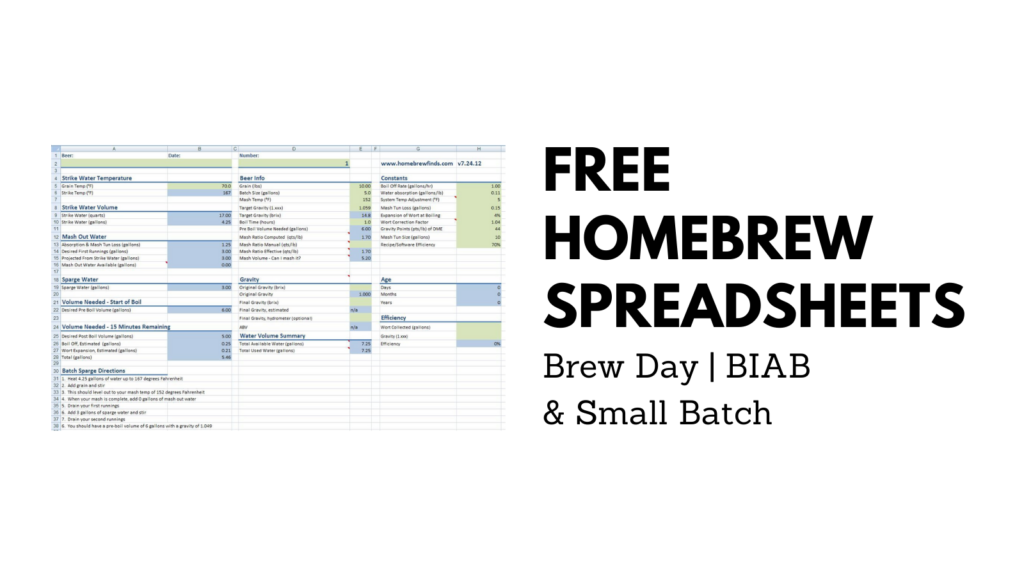
Homebrewing Spreadsheets – Brewing Spreadsheet, Brew in a Bag, Small Batch & Hard Seltzer

homebrewing spreadsheets

Homebrew recipe and brew day software can be handy.  Something like BeerSmith or BrewfatherFree Non-Expiring Brewfather Trial Account – can be invaluable for creating recipes, figuring SRM, figuring IBUs, fitting beers into established styles and lots more.  Some are BeerSmith power users and track every recipe and every brew day in this great software.

Sometimes you just want to brew.  It’s a recipe that you’ve brewed before, something you’re putting together on the fly, or you just want something quick and easy to tell you temperatures and volumes.  Even though I have and use recipe software, I just find it easier to use brew day spreadsheets to track each individual beer.  I’ve developed three that I use in different situations.

Get the Spreadsheets

Use a Hop Randall for Increased Hop Flavor and Aroma

BouncerMD inline beer filter (Mac Daddy) Pictured: BouncerMD inline beer filter (Mac Daddy) – Hands on Review

The Hop Randall or Randalizer, originally referred to as Randall the Enamel Animal is the brainchild of Dogfish Head Brewery Founded Sam Calagione.  It’s designed to infuse beer with hops (or other spices) at serving time as the beer is being drawn from the tap.  Typically you would use whole leaf hops, but ingredients like spices can also be infused using a Randall.

If you’re looking for a Randall infuser for your homebrewing setup, here are some options:

Continue reading

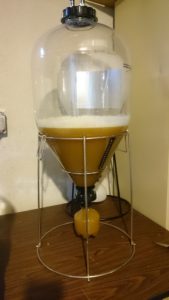
Hands on Review: Fermentasaurus Conical Fermenter – FermZilla v1

fermzilla conical review

This review is by Homebrew Finds Contributor Brad Probert.  Brad is an engineer, expert homebrewer and experienced reviewer.  Grab a link to Brad’s website at the end of this review.

Fermentasaurus is Now FermZilla

Since this review was published this conical has been rebranded to FermZilla. Check product pages for improvements vs the original Fermentasaurus.


Check Current Availability, Pricing & Specs:

Related: Hands on Review: Kegland Hop Bong


Related Review:

Hands on Review: FermZilla All Rounder Fermenter


Fermzilla Conical Fermenter

There are a lot of different fermenters on the market. Most of us started with the standard 6.5 gallon plastic bucket, and many never looked back. Going against its dinosaur-like name, the Fermzilla attempts to be a vision of the future, and differs from the plastic bucket in material, shape, and features.

Continue reading

Hands on Review: Brewer’s Edge Mash & Boil Electric Brewery

Updated: 5/3/2024

This review is by Homebrew Finds Contributor Brad Probert.  Brad is an engineer, expert homebrewer and experienced reviewer.  Grab a link to Brad’s website at the end of this review.

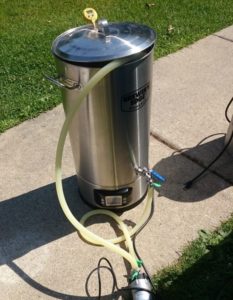
Brewer’s Edge Mash & Boil

I reviewed a number of electric all-in-one brewing systems a little over a year ago. As a collective group, these systems offer a lot to the homebrewer. They provide the flexibility and control of brewing process of all-grain, and the equipment simplicity of brew-in-a-bag. The fact that they’re electric gives you the ability to brew inside and convenience of not having to chase propane tank fill-ups. The electric systems also have the ability to set a target temperature and control to it, giving you better control of your brew day. All of these combine to create a more streamlined and less stressful brew day.

Each system has its own strengths and they all span a wide price range. The units I tried last year ranged from $470 at the low end to $2,500 at the high end. When I saw the Brewer’s Edge Mash & Boil coming in at $300, I was intrigued to see how this unit would work and if you really could go all-grain with an electric system at such an affordable price point.

Continue reading

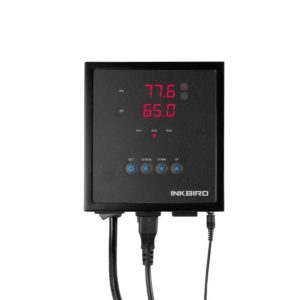
Homebrew Hack: Mimicking Dual Stage Temp Control with a Single Stage Controller

Inkbird IPB-16 15A Digital Pre-Wired PID Temperature Controller Thermostat with PT100 Probe, One SSR Output, One Relay Alarm Output, AC100V -240V

Pictured: Inkbird IPB-16 15A Digital Pre-Wired PID Temperature Controller

Overriding temperature controllers give you more control over heating and cooling devices.  They work by power cycling the device based on temperatures read.  This is extremely valuable for homebrewers for both homebrew kegerators and for controlling fermentation temperatures.  This technology allows you to operate a chest freezer at refrigerator-type temperatures.  This is even helpful if you’re using a refrigerator, because stock refrigerator thermostats generally do not have the precise controls we’re looking for as homebrewers.

Continue reading

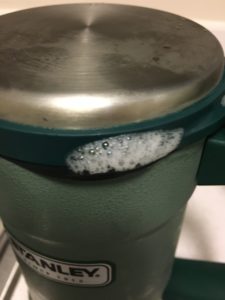
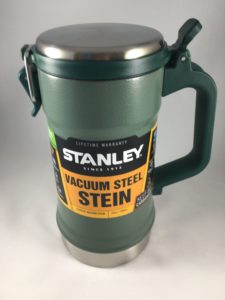
Hands On Review: Stanley Vacuum Insulated Stein

Stanley Vacuum Insulated Stein.  18/8 Stainless steel.  Won’t rust.  Naturally BPA free.  Dishwasher Safe.  Latching lid helps keep beer cold and carbonated.

Available in Hammertone Green and Matte Black

Vacuum insulation helps keep your beer and other beverages cold (or warm) and should also reduce or eliminate condensation on warm days.  Since this is not made of glass it would be handy for the pool, beach and park.

First, I want to say that I’m a big fan of Stanley PMI branded coolers, growlers and such. I have a lot of their gear including multiple vacuum insulated growlers [Hands on Review].  I’ve been impressed by the quality, features and styling of the Stanley products that I own.  Considering all that I snapped up one of these steins shortly after I learned about them.  Here’s a hands on look.

Continue reading

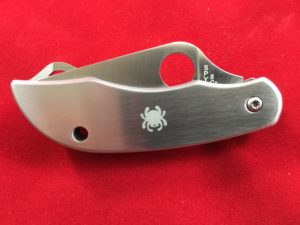
Hands On Review: Spyderco Stainless Steel ClipiTool Multi Tool w/Bottle Opener

spyderco clipitool review

ClipiTool Multi Tool By Spyderco

I had the pleasure of visiting Spyderco’s facility located in Golden, Colorado while on a family vacation.  I was extremely impressed by the quality of the gear they make and have since purchased several of their products.

The ClipiTool features stainless steel construction and three functions.  A knife blade, a flat screw driver and a bottle opener along with a clip and lanyard hole.

Continue reading

Oversize Keg Lid O-Ring – for leaky lids

Updated: 5/3/2024

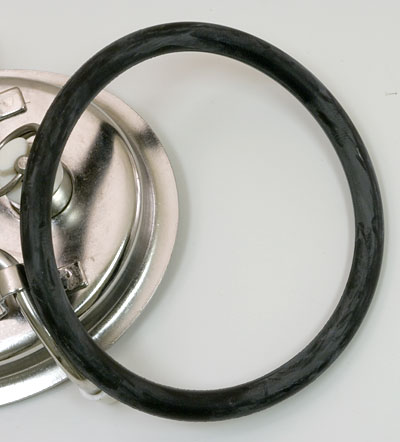
Oversize Keg Lid O-Ring from William’s Brewing.

About, from William’s: “Unlike standard lid O rings which have a .280″ cross section, our exclusive Oversize O Ring has a slightly larger (.310″) diameter, and is molded from softer rubber, for a more positive seal at low dispensing pressures. An ideal fix for an older keg with a leaky lid, or for any keg that needs to be pressurized before filling to achieve an airtight seal. Fits all brands of kegs, pin-lock or ball-lock, with a 3 by 3.5” clamp down oval lid. ”

Continue reading

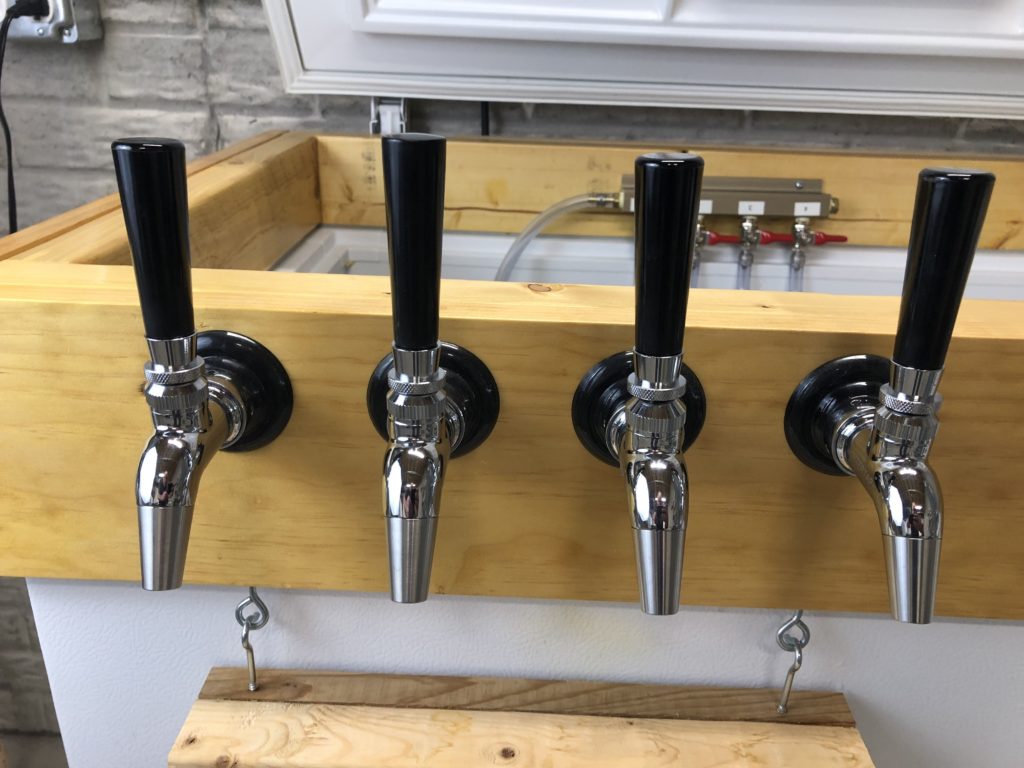
Hands on Review: Intertap Forward Sealing Faucets and Accessories!

Updated: September 12, 2024

Intertap Faucets are a forward sealing faucet.  The forward sealing design helps prevent sticking.  Intertap Faucets have a unique modular, threaded spout design which can fit a variety of attachments including a growler filler, stout spout and ball lock post.  Additional, related options are available including shanks and a self closing faucet spring.


Check Prices, Current Models, Accessories and Availability:

Continue reading

Homebrew Related Uses for Ice Packs

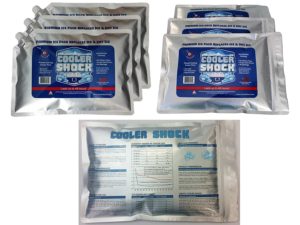
Pictured: Cooler Shock Ice Packs via Amazon

  • The first and most obvious use for these… use them in your cooler to keep your homebrew, favorite craft beer and more cold.  I went to ice packs instead of ice after watching a segment on packing your cooler properly on “Good Eats”.  Thanks to Alton Brown I have been ice free since and haven’t looked back.
  • Traveling someplace to brew – put your yeast and hops in a small cooler with an ice pack.
  • I like to keep an ice pack next to yeast in my fridge to help temp stabilize it.
  • If you’re using an ice bath to help keep fermentation temperatures down, you can use ice packs instead of ice.  This method saves you needing to drain water from the bath like you would have if you had added more ice, adding more gel packs doesn’t add any additional water to the mix.  If you’re in the practice of purchasing bags of ice for this, this method will also save you money in the long run.
  • If you have warm ground water temps, set up your system with a pre-chiller and use ice packs to help chill down your ground water.

What Else?  Submit a Tip and Let Us Know


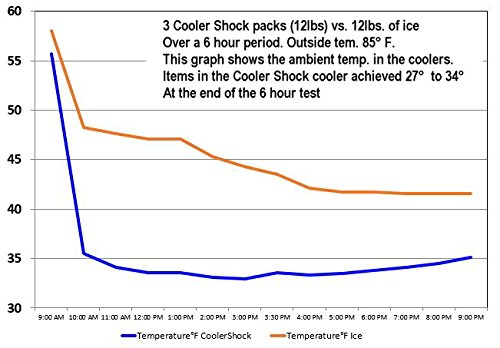
Cooler Shock Performance Chart via their 3 x Large Offering on Amazon

Some Ice Packs to Consider:

  • Cooler Shock Gel Packs – affiliate link, note that multiple variations of this product may be available, as such a different version may appear at this link. In my opinion… these are amazing.  The are made of thick mylar and come in several sizes and configurations.  Some are pre-made and others are DIY.  For the DIY versions you add the water to finish them off.
  • Nordic Ice NOR1006 Reusable Long-Lasting 24 Oz Gel Pack – smaller size, handy for temp stabilizing yeast in the fridge.

Frozen water in gallon jugs and 2L bottles can also be used for some of these tasks.  Although their pound for pound performance may trail behind something like a Cooler Shock Ice Pack, they are an economical option.  I would lean more toward using 2L bottles are they are generally more rugged than gallon jugs.

This is a Top Post! See: All Top Posts

pinned

This post may contain affiliate links. We may make a commission when you use our links. This will never cost you extra. Thank you for supporting Homebrew Finds!

greatdeals

toppost:icepacks

Finding Faucet Locks for Perlick Faucets

Perlick Wrap Around Draft Beer Faucet Lock - Kegerator Bar Security - All Models

Finding Faucet Locks for Perlick Faucets

A faucet lock allows you to secure your faucet to prevent unwanted use.  Kids, visitors, etc.

Perlick makes two models…

  • 308-40B works with Perlick 307, 425, 408, 410 and the 525SS faucets.
  • 308-40C works with Perlick 600 Series Faucets

Availability on these can be touch and go.

Here are some Amazon offerings that are periodically available…

I’ve also found that eBay can be a good spot for these

Search: 308-40b and 308-40c on eBay

Continue reading

Hands On Review: RTIC Soft Pack Coolers

RTIC Soft Pack Coolers (20 Quart, 30 Quart, 40 Quart) by RTIC.  These keep ice up to 5 Days!  No Leak Zipper.  No sweat exterior.  Up to 2″ of foam insulation.  Available in multiple sizes.

Note: This review was conducted on a 2017 model. Features on current versions may be slightly different.


Check Current Price, Models, Specs & Availability:


Continue reading

FOUR Recipes from the How to Brew, 4th Ed by John Palmer

how to brew john palmerPictured: Fourth Edition of the Homebrew Classic How to Brew by John J Palmer via Amazon

How to Brew by John Palmer is arguably required reading for homebrewers.  It’s a homebrewing classic and contains a wealth of information for beginning, intermediate and advanced homebrewers.  Tips, techniques, how-tos, recipes and more.

Want a sneak peak at some of the recipes available in the fourth edition of How to Brew?  See below for four recipes from the book.


Grab the Book and Get ALL The Recipes and more


Note: These recipes are available as of this posting.  That may change.  Check each source to see if these are still being published.

Recipe #1 Victory & Chaos English IPA – in Amazon Book Description

HBF Reader (8Let’s be friends!) Jeff points out that the Amazon product page has a recipe from the book.  It’s called “Victory & Chaos English IPA” both extract and all grain versions can be found in the product description.

Recipe #2 Klang Freudenfest Oktoberfest  – “Leaked” by the AHA

Continue reading

Homebrew Tubing Tips… Cleaning, Drying, Re-Shaping, Storing & More

homebrew tubing

Part of Our Homebrew Tips and Tricks Series.  Check out the complete list – Homebrewing Tips, Tricks & Shortcuts! This is a Top Post! See: All Top Posts


Tubing!  Homebrewers use a variety of sizes and styles of tubing for siphoning, beer transfer, wort and water transfer on brew day, keg to keg transfers, kegerator beer and gas lines and more.

Cleaning Tubing

After using (depending on what I’ve used the tubing for), I’ll give the tubing a rinse to get the majority of stuff off and to keep my cleaning solution as clean as possible.  Next is a soak in hot PBW solution.  I’d say 5 to 10 minutes is typical for me.  Followed by a thorough rinse.

Reducing Water Spots on Tubing

If you have a problem with water spots on your tubing, make your last step a rinse in a diluted mixture of Star San.  Not only will you get some sanitizing benefits, the Star San acts as a surfactant that helps fight water spots.

adstarsan

Keep Reading – Loads More Tubing Tips!

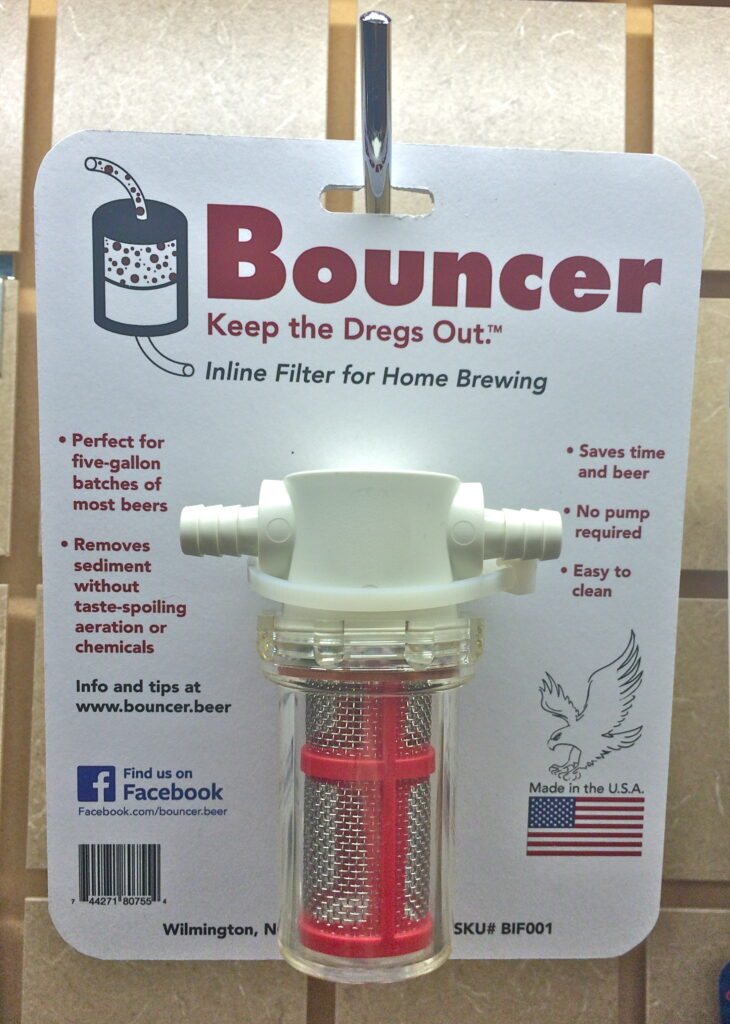
Hands on Review: Bouncer Inline Beer Filter!

bouncer inline filter review

Special Thanks to Jerry at AdventuresInHomebrewing.Beer for this Hands on Review

Hands on Review Bouncer Inline Beer Filter

Have you ever paid attention to any of those” suggested posts” on Facebook? More often than not, I just swing right by. One did catch my attention though, it was for the Bouncer. I am glad I took the time to really check it out, and contact Tim and Doug about what looked to be a really cool product. Homebrewing is filled with gadgets, and guys find really cool ways to to fix problems we run into. The Bouncer and the Bouncer MD solve all sorts of floating issues! It is two different beer inline filters that accomplish great things! So here is my product review of the Bouncer and Bouncer MD home brew beer inline filters. If you want the cliff notes, the answer is yes….go buy it….you won’t be disappointed. Oh wait, you want more details? Read those below.


Check Pricing and Availability:

Bouncer Replacement Parts

Continue reading

MoreBeer Clone Recipe Kits – Heady Topper, Sculpin, Zombie Dust & LOTS More

MoreBeer offers a good large selection clone recipe kits (some directly from the Brewery).  If you’re wanting to clone one of your favorite commercial beers, check out MoreBeer’s recipe kits, available in both extract recipes and all grain recipes.

Continue reading