
Hands On Review: 5 Stage Reverse Osmosis Water Filter by Reverse Osmosis Revolution – Dial in Your Home Brewing Water!
Why Use a Reverse Osmosis Filter for Homebrewing?
Using RO (Reverse Osmosis) or DI (Deionized) water allows you to start with a clean slate of sorts and build your water profile from the ground up using water salts. That allows you to take control of an important aspect of your brewing, especially if you’re an all grain brewer and create exactly the water profile you’re looking for.
Water by John Palmer and Colin Kaminski, part of the Brewing Elements Series, is a great read to learn lots more about brewing water and water adjustments
Check Current Price, Review Continues Below
- Countertop Portable Universal 5-stage Reverse Osmosis RO Purification Water System with DI Deionizing Mixed Bed (close to 0 PPM) postfilter, build in USA – affiliate link, note that multiple variations of this product may be available, as such a different version may appear at this link
- More Options – Search Reverse Osmosis Revolution on Amazon
Hands On Review
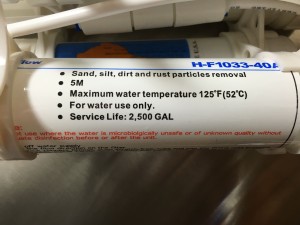 1st stage: Premium Quick-Connect 5 micron sediment filter. Dust and rust particles are trapped here in a filter which also extends the life of the system and the membrane.
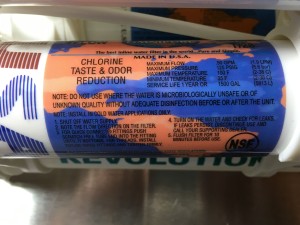 2nd stage: Premium Quick-Connect T28 coconut activated carbon filter – VOCs (volatile organic compounds) and other common chemicals are removed from the water in this stage. This filter also removes chlorine, cloudiness, offensive odors, colors and unpleasant tastes.
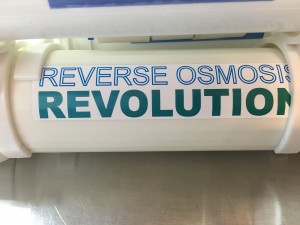 3rd stage: High Rejection TFC type reverse osmosis membrane. 95%-99% of total dissolved solids (TDS) and other elements are removed in this stage. Arsenic, fluoride, lead, chromium, radium, viruses, bacteria, and other unhealthy contaminants are removed from the water. 75 gallon per day capacity. Made in USA.
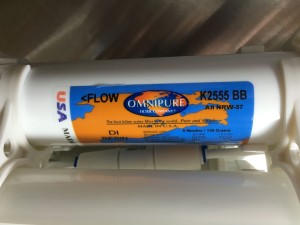 4th stage: Produces ultra high quality water with deionizing mixed bed polishing filters. This stage produces exceptionally clean water with a minimum TOC background
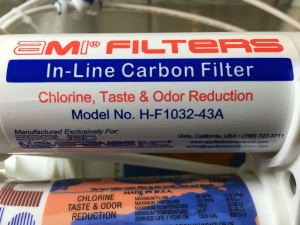 5th stage: Premium US made T33 post polishing filter.
Note that you do need to use this filter on a regular basis. According to the manufacturer (via email) you can extend that time by placing the unused assembly in the refrigerator. After an extended period of non-use you are supposed to flush the filters for a set amount of time. Consult the manual for guidelines. If filtered water has an odor, according to the manufacturer (via email), you should replace the filters. Along with brewing water, I’m planning to use this for drinking water as well. Check with manufacturer for current filter replacement guidelines.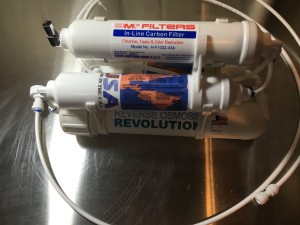 The complete unit. The top two hoses are for incoming water and waste water. The bottom (unconnected) tubing is an option for outgoing pure, filtered water. The other option is an included spout. I went with the tubing option.
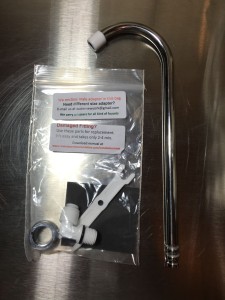 Here’s a look at the spout along with some additional replacement fittings that are included.
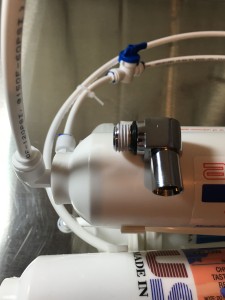 I swapped out the spout base for the hose option. This is where filtered water leaves the assembly.
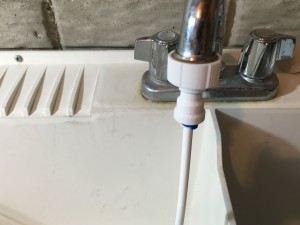 By default, this comes with a chrome metal 2-way diverter for kitchen faucets. It’s said to fit 96% of all kitchen faucets (female or male type of spout). If you want to connect to garden/laundry hose, specify in the customer’s notes – see product description for more/current information on that. Since I’m using this with a utility sink, I did want the garden hose option. I used the “Contact Seller” feature to contact the seller, after placing an order, to let them know about my hose connection preference. I found this to be a little tight getting on. Better too tight than too loose.
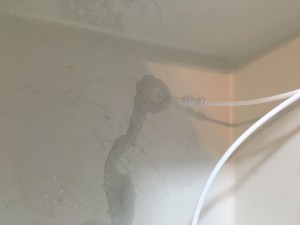 The directions say to flush this for one hour prior to using the water. From the first stuff that came out… I’d say that’s a good idea.
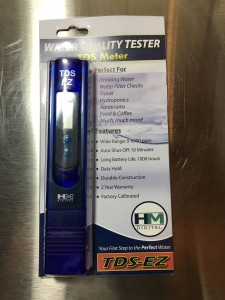 I picked up a TDS (Total Dissolved Solids) [Model TDS-EZ] meter to test the effectiveness of the filter. If you decide to start purchasing RO or DI water from the store (instead of getting a filter), I would still suggest picking up a TDS meter. Some water processors add minerals back for flavor. A TDS meter will allow you to make sure you’re getting what you want.
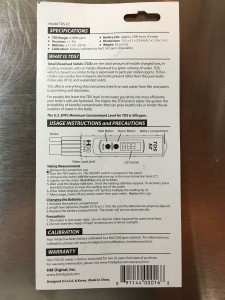 Back of the package and instructions.
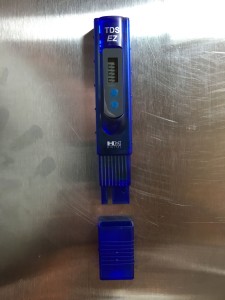 Front with cap removed
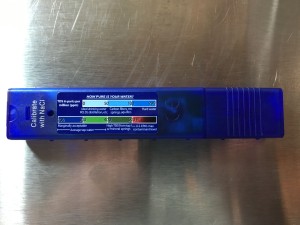 Back of the meter
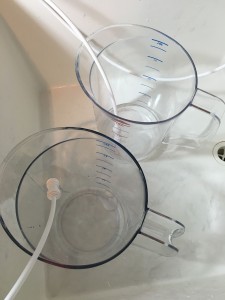 I used two Rubbermaid 1 gallon pitchers [Review] to measure how quickly pure and waste water were being produced. It took about 3 minutes to produce 1 quart of waste water. That’s about 5 gallons per hour. It took just under 5 minutes to produce 1 quart of pure water. The figures to 20 minutes per gallon or 3 gallons per hour. That matches specifications right on. Maybe even a little more quickly. I’m not sure if this varies based on water quality of if it varies over time. I’m very happy with how quickly this produces pure water.
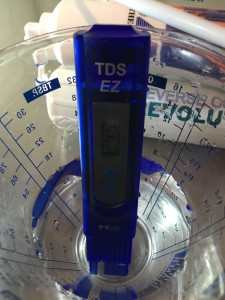 My untreated tap water read 249 PPM (parts per million). I used my Perfect Beaker [Review] to collect samples.
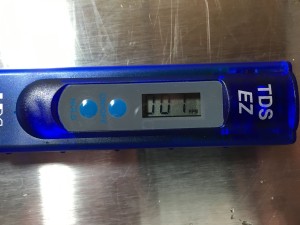 After being filtered, I got a reading of… 1 PPM!
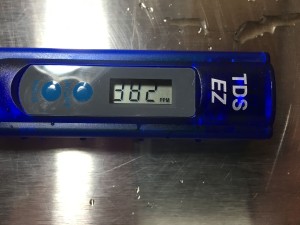 The waste water came in at 382 PPM. Note: You can collect waste water and use it for purposes other than brewing water.
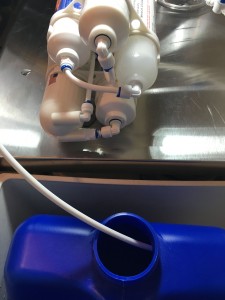 Collecting brewing water in a 7 Gallon Aqua-Tainer Drinking Water Jug.
Conclusions
I can tell you empirically (because of the meter) that this filter works really well. It took my hard tap water down to 1 PPM. It’s easy to use and fits my situation perfectly. I really like that it can be hooked up as I need it and it produces water relatively quickly. Along using this water for brewing and drinking water you can also use it mix up Star San and resolve issues related to cloudy Star San [See: Testing Star San Effectiveness].
Check Current Price
- Countertop Portable Universal 5-stage Reverse Osmosis RO Purification Water System with DI Deionizing Mixed Bed (close to 0 PPM) postfilter, build in USA – affiliate link, note that multiple variations of this product may be available, as such a different version may appear at this link
- More Options – Search Reverse Osmosis Revolution on Amazon
Related:
- Universal TFC Reverse Osmosis RO Membrane JB-1812-75, 75 GPD. Made in USA
- HM Digital TDS-EZ Water Quality TDS Tester, 0-9990 ppm Measurement Range , 1 ppm Resolution, +/- 3% Readout Accuracy
- Water by John Palmer and Colin Kaminski
More Homebrew Finds!
- Last 50 Finds!
- Top Deals – a curated list of the best deals
- Homebrew Reviews – one of the largest libraries of homebrew reviews in existence!
- Our Top Posts – tips, how-tos, resources posts and more
- Let’s be Friends!
Recent Deals!
10 Most Recent Homebrew Resource Posts & How-To’s!
We are Homebrew Review HQ! Our 10 Most Recent Reviews
Let’s Be Friends!
Subscribe To Our Email! – 8 Ways to Conn
pinnedThis post may contain affiliate links. We may make a commission when you use our links. This will never cost you extra. Thank you for supporting Homebrew Finds!
greatdealsMake sure the components you use are compatible and rated for your intended application. Contact manufacturer with questions about suitability or a specific application. Always read and follow manufacturer directions. tag:lnksfxd review:rorevfilter tag:tpr
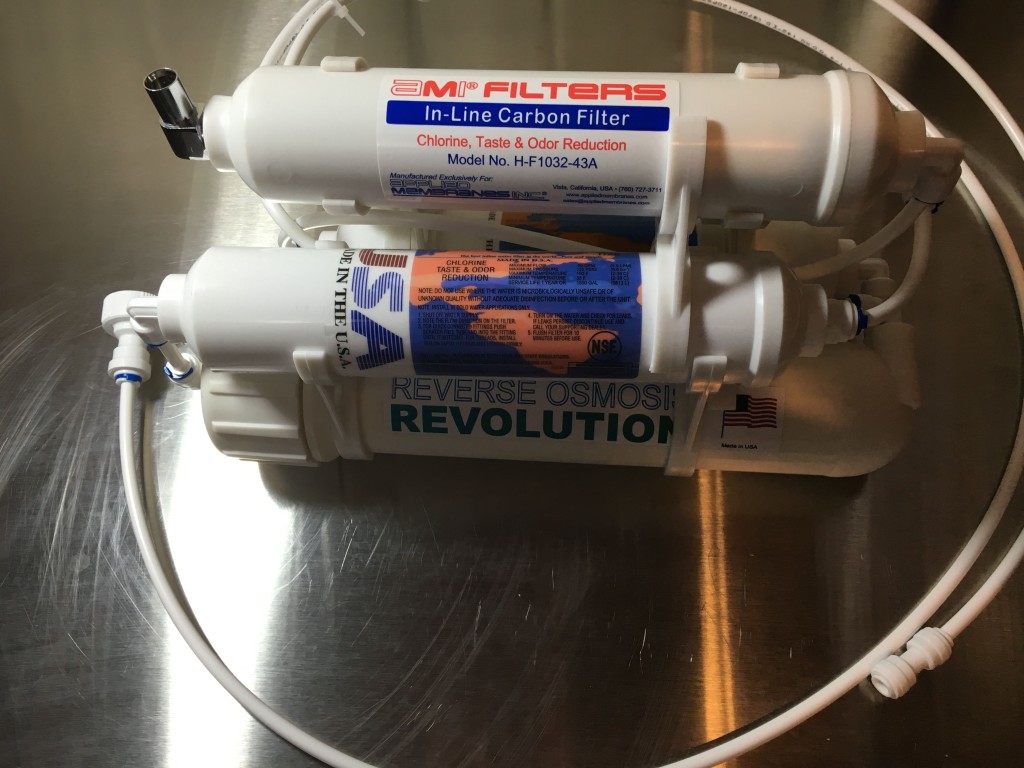


So I have a question regarding waste water. According to my math and your numbers, in 60 minutes this system will produce 3 gallons of clean water and 5 gallons of waster water for a total of 8 gallons of water.
Is this correct?
Yep… that’s what I would estimate.
It doesn’t say the price $$$$$
For most review posts, I don’t quote prices, because they can change quickly. You can check the product page for up to the minute pricing.