
Hands On Review: Blichmann Engineering BoilerMaker G2 Homebrew Kettles
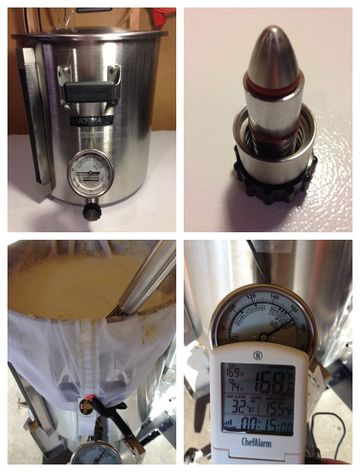
Blichmann Engineering’s G2 Kettle is available in 7.5 through 55 gallon sizes. The BoilerMaker G2 is designed and manufactured in the US. It includes a Sight Glass w/Laser Etched Volume Markers, Adjustable Angle BrewMometer Thermometer, Linear Flow Valve and tool-less dip tube. The G2 also features a 1.2 height to diameter ratio.
Compare Models, Prices and Availability, Review Continues Below:
- Blichmann Engineering BoilerMaker G2 Kettles at MoreBeer
- Blichmann Engineering BoilerMaker G2 Kettles at Great Fermentations
- Blichmann Engineering BoilerMaker G2 Kettles at Beer & Wine Hobby
- Search Amazon for “Blichmann Boilermaker Kettle” – offerings vary
This article contains affiliate links. We may make a small percentage if you use our links to make a purchase. You won’t pay more and you’ll be supporting Homebrew Finds and more content like this. Thank you for your support!
Hands on Review Blichmann BoilerMaker G2 Brewing Kettle
 Here’s the box
 In case at any point you thought to yourself “I should probably drop this box”, there is a handy sticker that reminds you not to.
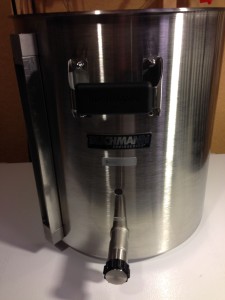 A look at the kettle straight out of the box. The new “Linear Flow Valve” comes installed, the Brewmometer Thermometer is not installed upon delivery.
 Here is the Blichmann Engineering name plate and BoilerMaker G2 name plate. They’ve really stepped it up a notch here vs the G1 as the G1 just has a sticker. This has no functional importance, but it does look cool.
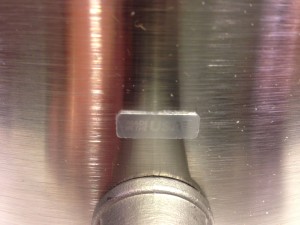 Just above the Linear Flow Valve, there is a small plate that reads… “Made in the USA”
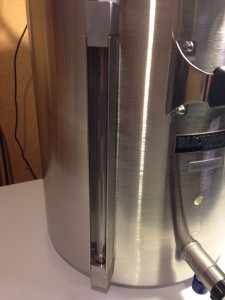 Here’s a look at the sight gauge
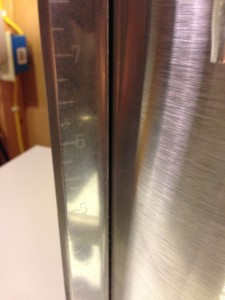 This picture shows the laser etching for the sight glass
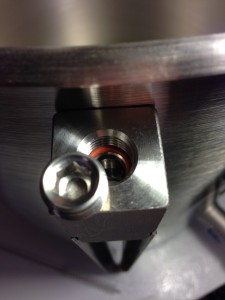 The included Allen wrench allows you remove the top portion of the sight gauge for cleaning
 A brush is included to clean the sight gauge.
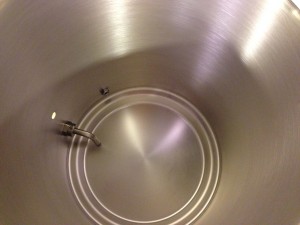 A look inside the kettle. The included dip tube is on the left hand side.
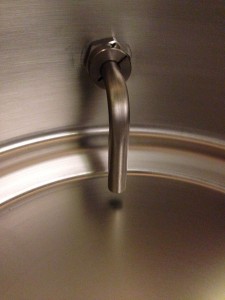 A close up of the installed dip tube.
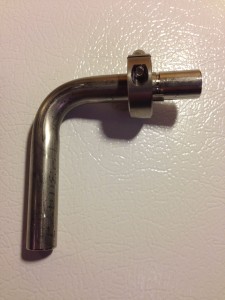 The dip tube is a tool-less design, meaning, no tools are required to install or remove it. From what I can gather, it’s the same as the G1. Works great and it’s easy to use.
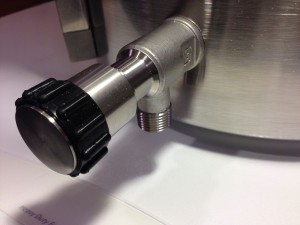 When a first unboxed the G2, I went directly to the Linear Flow Valve. After turning it a bit, I thought, yeah… it’s pretty cool. After figuring it out, I can tell you that it is… revolutionary. Keep reading.
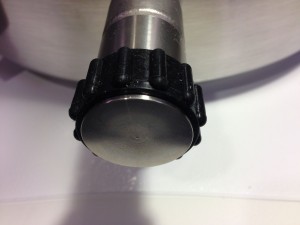 The Linear Valve’s Cool Touch Handle. Cool Touch should maybe be “Cooler Touch”. It is helpful, but still use caution when grabbing for the valve. It can get warm, even hot. Most of the time I am able to adjust with my bare hand, but there have been times I’ve grabbed something to shield my hand for the heat. Heat-wise I would say this is a big improvement from the ball lock handle.
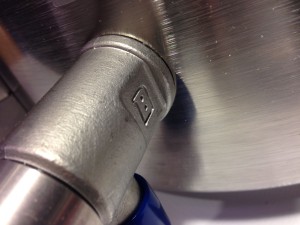 The side of the Linear Valve, emblazoned with a Blichmann Logo B. Note that the Linear Valve can be configured at any angle.
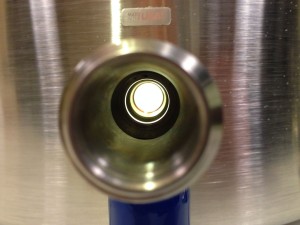 This is the revolutionary part. That’s light you see through the Linear Valve’s body. After a while, I started looking through the manual to see how the Linear Valve comes apart. What would I need to do to clean this? What tools are required? The valve simply unscrews and the entire inner workings pop out. No tools. When the thing just came off, it was a near jaw dropping moment for me. I’ve got my fair share of 3 piece ball valves that can be taken apart for thorough cleaning. How often do I take those apart for thorough cleaning? I wouldn’t use the word… often. The Linear Valve comes apart so easily that it will be cleaned every time I use the kettle.
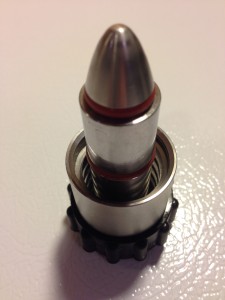 The inside of the linear valve. There isn’t much to it. Easy to clean and sanitize.
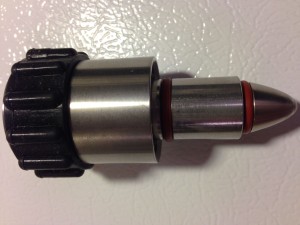 Side view of the inside of the Linear Valve
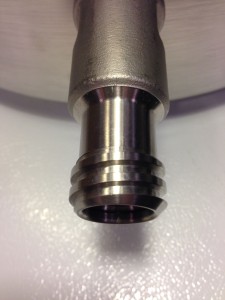 The valve body
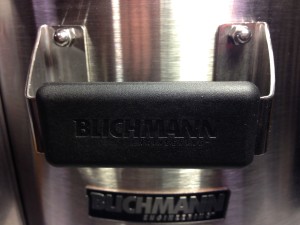 New handle design
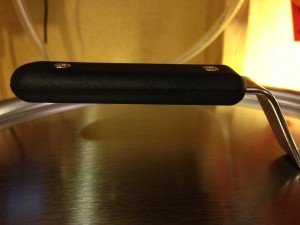 New lid handle design
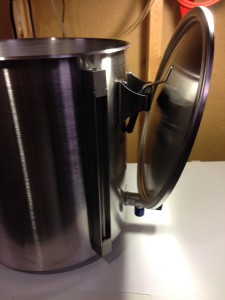 The lid handle is designed to fit in the kettle handle.
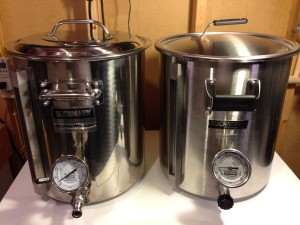 G1 and G2 10 Gallon Blichmann BoilerMaker Kettles Side by Side
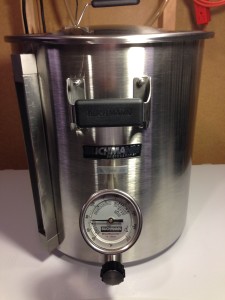 The G2 with Brewmometer installed
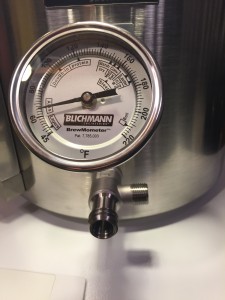 After using it the first time, I decided to orient the valve facing to the side. Changing the valve orientation is as easy loosening the back nut, changing positions and re-tightening. The ring on the dip tube can be re-oriented so that the aligning pin fits correctly and the dip tube points down. I’ve found a side benefit to this orientation. If you have the valve facing away from you, you can lean the kettle back while carrying it to prevent stray wort from dripping while you’re carrying around the kettle. I like that a lot, since I usually brew in the garage and do most cleaning in my basement.
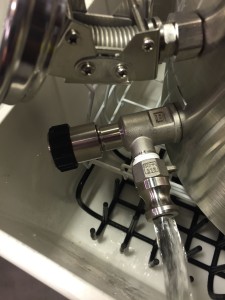 Here’s a picture of the valve working on the new position.
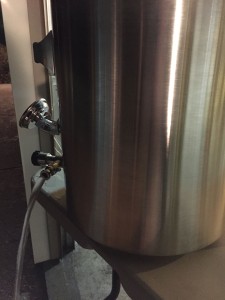 After my “First Looks” Post, I received questions on the flow rate of Blichmann’s new linear valve design. I had that same question. To test, I filled both G1 and G2 kettles up to the bottom of their valve outlets. I actually overfilled and then let the excess drain out. With both valves opened, I dumped in three gallons of water (from a 5 gallon bucket) and (with my son’s help, despite rumors to the contrary I only have two arms 🙂 timed how long it took to drain that three gallons. We kept timing until the water level hit the top of the interior valve nut on both kettles. I did that because I didn’t want to try and time the last dribbles coming out. So, this was a 3 gallon-ish test. Results: G1 – 2 Minutes and 4 Seconds, G2 1 Minute 46 Seconds. The linear valve was 16 seconds slower. Part of that may be because I have the valve oriented to the right. The net result is that the flow rate is a bit less for the Linear Valve. I have a suspicion that the difference will be less when using a pump. I plan to try that in the future. Either way, I would much rather have the Linear Flow Valve vs a Three Piece Ball Valve. I have easily cleaned this every single time I’ve used the G2.
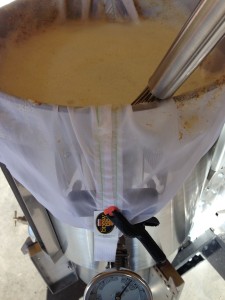 Brewing MoreBeer’s M80 IPA BIAB Style with The Brew Bag – Review. The G2’s Handles make nice spots to secure the bag. Facebook Friend Brian asked if the BrewMometer’s interferes with the bag when brewing BIAB. The answer is that BrewMometer’s probe is a short 2″. It’s not sticking half way into the kettle. It works well with Brew in a Bag.
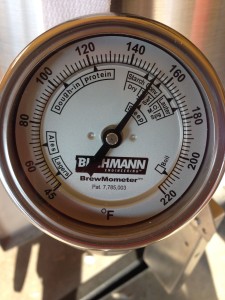 The BrewMometer showing the mash temp for M80
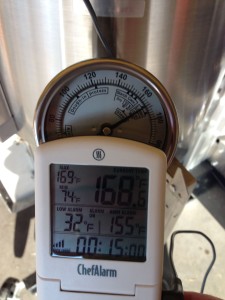 I pulled out my ChefAlarm – Review – to test out-of-the-box accuracy of the BrewMometer while brewing M80. I’d say that is very close. Of course, you can calibrate the BrewMometer as needed.
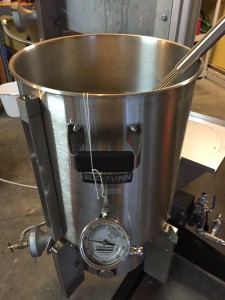 Brewing an extract beer using the G2. The string is the tied off specialty grains steeping bag. Also Pictured: Brew Day Whisk – Review and TopTier BrewStand.
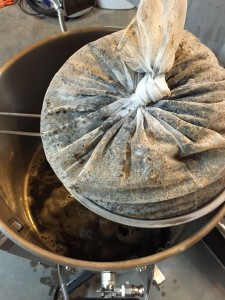 This is the grain bill of a partial mash Oatmeal Stout.
Conclusions
After using the G2 for a long time, I can… wholeheartedly recommend it. In true Blichmann fashion, it is a great piece of purpose designed brewing equipment from small thoughtful details to innovative new features (like the revolutionary Linear Flow Valve) to first quality materials and construction. The Blichmann BoilerMaker G2 is a great homebrewing kettle!
Compare Models, Prices and Availability:
- Blichmann Engineering BoilerMaker G2 Kettles at MoreBeer
- Blichmann Engineering BoilerMaker G2 Kettles at Great Fermentations
- Blichmann Engineering BoilerMaker G2 Kettles at Beer & Wine Hobby
- Search Amazon for “Blichmann Boilermaker Kettle” – offerings vary
Also Consider:
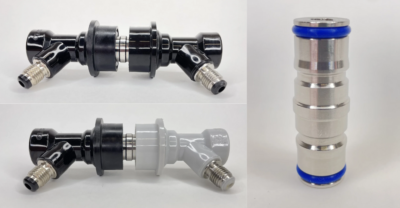 Stainless Steel Ball Lock Jumper with Food Grade Silicone O-Rings: Allows you to connect multiple ball lock runs to clean multiple lines and taps at the same time. Works with both liquid and gas QDs. Stainless Steel Ball Lock Jumper – via Valuebrew – An easy add-on… food grade o-rings, featured in our Keg Rebuild Post
More Blichmann Engineering Reviews!
More Homebrew Finds!
- Last 50 Finds!
- Top Deals – a curated list of the best deals
- Homebrew Reviews – one of the largest libraries of homebrew reviews in existence!
- Our Top Posts – tips, how-tos, resources posts and more
- Let’s be Friends!
Recent Deals!
10 Most Recent Homebrew Resource Posts & How-To’s!
We are Homebrew Review HQ! Our 10 Most Recent Reviews
pinnedThis post may contain affiliate links. We may make a commission when you use our links. This will never cost you extra. Thank you for supporting Homebrew Finds!
greatdealsPrice, promotions and availability can change quickly. Check the product page for current price, description and availability.
Make sure the components you use are compatible and rated for your intended application. Contact manufacturer with questions about suitability or a specific application. Always read and follow manufacturer directions. tag:lnksfxd review:blichmanng2 tag:tpr





By this, the G2 is faster, not slower. Did you reverse the labels?
Is the diamater of the G2 the same as the G1?? I’m about to pull the trigger on a G2 for a BrewEasy, but I have a G1. Since it fits on top, I’d like to know if a G2 would fit.
There has been a lot of discussion on HBT about how easy it would be to over open the valve and essentially pull it apart and spill hot wort all over yourself. What are your thoughts on how likely that could be with this new linear valve?
Disclaimer: Do not try this. My experience: I have personally, completely loosened the the Linear Valve with the kettle filled (5 gallons-ish) with both water and boiling wort and not had any issues with this. I’m not suggesting that you try this. I’m only telling you that I have tried it and not had an issue. The internal portion of the valve requires you to put a bit of force on it to pull it out. The pressure of 5 gallons of liquid for me (on a couple of occasions) wasn’t enough to dislodge it. Maybe that loosens over time, I don’t know. But out of the box it hasn’t been an issue for me. Going forward, I’m not going to make a practice of doing this.