
Hands On Review: More Beer’s Plate Filtering Setup
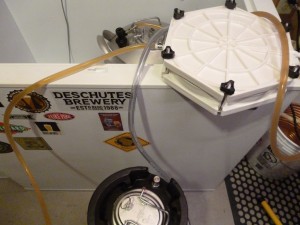 More Beer’s Beer and Wine Plate Filter Kit in action
First… Why would you want to filter your beer?
- You want to drink your beer soon. During conditioning, a lot of what we’re doing is waiting for stuff to fall out of suspension. Filtering hastens that process.
- You want to transport your kegged beer. Transporting your beer stirs up anything that’s in the bottom of the keg. Filtering means you don’t need to worry about stirring a bunch of stuff up.
- Clarity. You’re interested in having great clarity for a particular style of beer.
- You have a problem with your beer. Filtering down to the sterile filter level may remove off flavors. That’s a maybe.
The process for filtering beer is basically…
- Assemble the unit and hook up tubing.
- Run 1 gallon of water through the plate filter.
- Run Star San through the filter.
- Filter your beer.
Instructions say to expect the whole process to take about 45 minutes. I’d say that’s about right. The process was a breeze. I was able to multi task and get other things done around the brewery during this process.
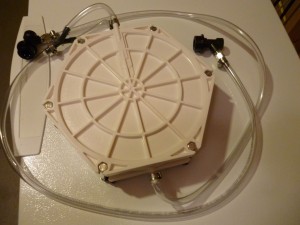 Here is the complete unit with tubing and disconnects
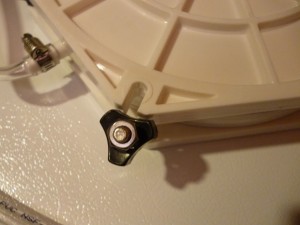 The fasteners on this plate chiller tighten by hand.
Notches are designed to make assembly quick.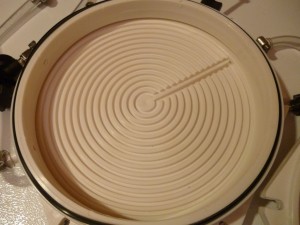 One side removed
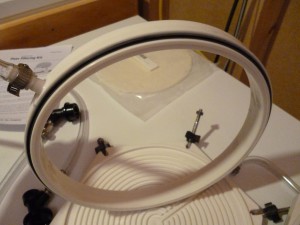 The center ring. This takes two filter pads. One on each side of this ring.
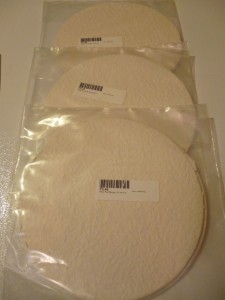 Pads are available in rough, polish and sterile. You need to work sequentially through these. Sterile is only recommended in the case that your beer has flaws. That filter strips quite a bit of out of your beer. I only used the rough filter in my test. I was very happy with the clarity that the rough filter produced.
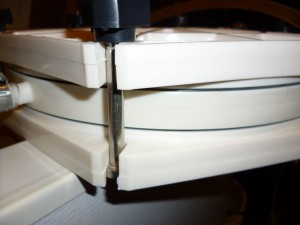 The whole thing sandwiched together
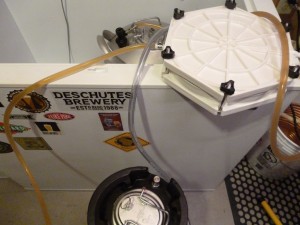 I fermented this 5 gallon batch in a 10 gallon Cornelius keg. You can see that inside the deep freeze. I hooked the filter directly up to the fermenter and sent the beer right to the receiving keg.
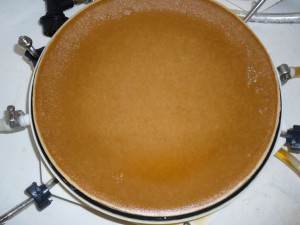 Here’s the used filter.
 Here’s what’s left in the fermenter.
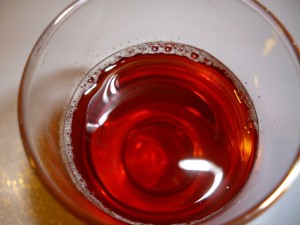 This beer was just sitting on the muck in the bottom of my fermenter
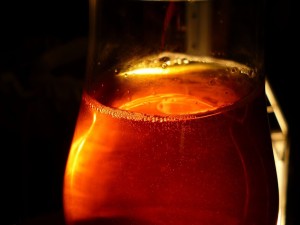 Crystal clear homebrew
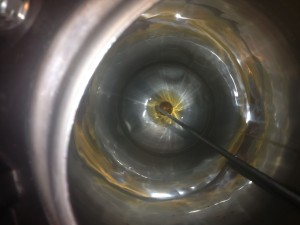 Here’s the bottom of the keg after the beer was consumed. As you can see… no trub at all.
This setup does what’s it supposed to do. It’s easy to set up and easy to use. It adds a little bit of time to the kegging process, but you can do other things during that process. It’s nice to have the option to filter when the situation presents itself.
- Beer and Wine Plate Filter Kit FIL45B
- Beer and Wine Filter Pad (Rough) – Pack of Two FIL46
- Beer and Wine Filter Pad (Polish) – Pack of Two FIL47
- Beer and Wine Filter Pad (Sterile) – Pack of Two FIL48
More MoreBeer Reviews+Related:
More Homebrew Finds!
- Last 50 Finds!
- Top Deals – a curated list of the best deals
- Homebrew Reviews – one of the largest libraries of homebrew reviews in existence!
- Our Top Posts – tips, how-tos, resources posts and more
This post contains affiliate links. We may make a commission when you use our links. This will never cost you extra. Thank you for supporting Homebrew Finds!
morebeerreview:morebeerplatechiller


Why not just go buy the “Mac Daddy Bouncer” and you’re done in no time. Have done 10+ gallons in a matter of 5-10 min of filtering the entire beer with no particles getting through. I did a Peach beer with 18lb of shredded peach pieces I cut up and pureed. Not a single piece got past the filter and into the end product.
That’s not nearly the same level of filtering. Understand – I’m not suggesting that you need to or should filter all your beers. This is a review of the plate filter for those interested in the benefits of filtering Something like the BouncerMD could certainly fit the bill in some situations, but the plate filter and Bouncer should not be confused. They are different tools for different applications.
What was that thing in the bottom of you fermenter?
That’s a cask widge float. It’s on a flexible piece of silicone tubing that goes over a gas dip tube (that’s in place of the liquid out dip tube). The cask widge float, well… floats. That draws in clear beer from the top instead of sediment from the bottom. It works brilliantly.
How much time would you say it really knocks off? Maybe like a week off of secondary?
I’d say that depends on the beer. This beer was fermented with 1056 which isn’t known for stellar flocculation. Of course, it’s not just yeast coming out of suspension. The short answer is… I don’t know.
I’d say 2 to 6 weeks depending on the beer. I’ve heard other say the same.
What’s the point of running water through the filter then StarSan? Why not just soak the filter in StarSan and go straight to transferring?
The directions say the point of running water through first is removing any residual flavor from the filters. Practically, I think it’s also a nice time to check for leaks. I assumed tube clamps came tightened. They were not and I had some small leaks. I’d much rather leak a little water than beer.
The first time I used this, I didn’t run enough water through and my beer tasted like wet newspaper.
Using it looks easy, but what about cleanup?
Are the filters re-usable?
The filters are not reusable. Cleanup was easy, not much more work than I would normally have for transfer lines. Just disassemble everything rinse and go through your typical cleaning routine. For me… pbw.