
Hands on Review: Kegland Fill-O-Meter
Updated: January 16, 2025
This review is by Homebrew Finds Contributor Brad Probert. Brad is an engineer, expert homebrewer and experienced reviewer. Grab a link to Brad’s website at the end of this review.
Kegland Fill-O-Meter
Homebrewing is full of gadgets. There are some things that are high tech versions of common equipment everyone has and uses. Then there are gadgets that are unique in what they do. They maybe aren’t a requirement for brewing, or aren’t things you’d find in every brewer’s toolbox. The Kegland Fill-O-Meter is definitely one of these. The Fill-O-Meter has two functions- turning on & off the water flow, and measuring the amount of water that goes through it. The intersection of these two functions is where it becomes a handy tool in the home brewery.
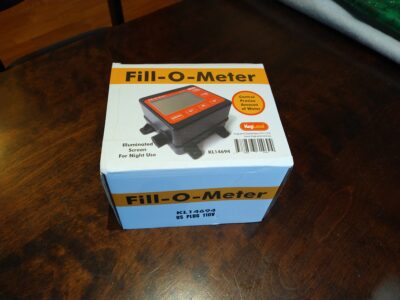 Fill-O-Meter in Box
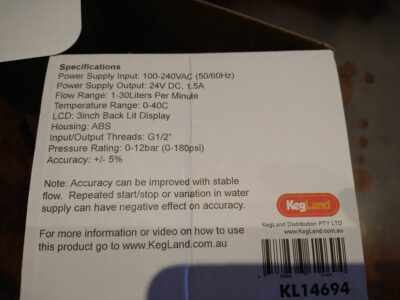 Specs on Side of Box
The Fill-O-Meter has ½” threaded inlet and outlet ports. They are BSP thread, not NPT, so you need to be extra careful when tightening on any NPT fittings to make sure you don’t strip out any threads or end up with leaks. The solenoid inside has a fail-safe such that if you lose power for some reason, the solenoid stays closed and prevents water from flowing. The unit comes with a 24V power supply plug to run the on/off solenoid, as well as the LCD backlit digital screen. The screen displays the current flow rate (in gallons/minute or liters/minute), your target water volume, and how much water has flowed past it since you turned it on. You can select for the display to be in units of US Gallons, or in Liters. You also have the option to display language in English or Chinese (if you’re in the mood). You can also tweak the flowmeter calibration constant to improve the accuracy for your given setup or if you’re going to measure in US gallons (adjustment needed, as explained in my hands on review section).
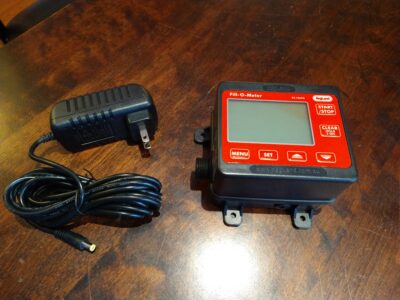 Contents of Box- Meter and Power Supply
Check Current Price & Availability, Review Continues Below:
Fill-O-Meter – Water Measuring Flow Meter Device BE671 – at MoreBeer
This article contains affiliate links. We may make a small percentage if you use our links to make a purchase. You won’t pay more and you’ll be supporting Homebrew Finds and more content like this. Thank you for your support!
The Fill-O-Meter can operate as a simple digital meter to display flow rate and total volume delivered. But the main mode is where you program in a target value. Once that’s entered, you hit the start button, the solenoid valve opens and flows the target amount of water, and then shuts off. You don’t have to read volume markings on anything or worry about getting distracted and forgetting to turn off the water. Its rated accuracy is +/- 5%, but if you run it at a consistent inlet pressure and a lower flow rate, the repeatability is much better than that. You can take it one step further by tweaking the calibration constant and dialing it in to match measurements in a container you have confidence in.
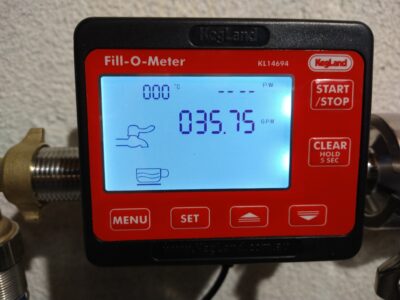 Calibration Constant Tuned for Gallons
The meter is designed only to handle water temperatures up to 104F (40C), so don’t try to hook it up to transfer your mash wort. The digital screen shows a temperature display, but there isn’t actually a sensor. That part isn’t populated inside the board as it would drive up the cost but not really be of value to the brewer.
Hands on Review
For my brewing I use city tap water, which has a good taste, and I’ve mapped out the mineral content after the 3-pass filter using the LaMotte BrewLab Plus home testing kit. I installed the Fill-O-Meter at the output of my 3-pass filter, and then connected a drinking water hose from the output of the Fill-O-Meter to run over to my brew kettles. I normally brew with a 3-Vessel setup, so I measure strike water going into my mash tun, as well as sparge water into an electric brew rig. I have two mash tuns I alternate between, one of which has etched volume markings, and the other has none. So the Fill-O-Meter was going to make life easier when using the mash tun without markings.
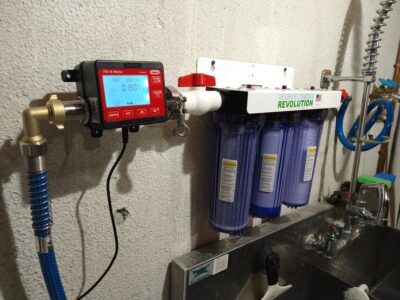 Meter Installed Attached to Filter Outlet
Before I could ever get started, though, I got set off on a wild adventure of water fittings. I realized that several years ago when I set up my 3-pass filter system, although I did research and made sure to buy drinking-water-safe hoses with certified lead-free fittings, I did not apply the same diligence to my fittings between the hose and the filter assembly. And the default fitting type with a Garden Hose Thread is brass, which typically isn’t lead-free. They do make lead-free brass, but it needs to be called out as that. Otherwise, most garden hoses are just watering flowers and lawns, which you don’t need to worry about the lead content. I eventually found all the right types of fittings in either lead-free brass, or stainless steel, and I was in business hooking everything up.
I expected my next challenge would be the BSP threads on this Australian-designed meter. I had run into challenges with this on a stainless steel wort chiller, where I had to get a bit aggressive with extra wraps of Teflon tape. But to my delight, I didn’t have any issues. I assume that is because the wort chiller was running at hotter temperatures, which made thread mismatch between 1/2″ BSP and 1/2″ NPT more of an issue. At tap water temperatures I have experienced no leaks in my several months of running it through several brew days.
Next up I got a weird tip about having to tune the calibration constant when I changed from Liters to Gallons for measurement. Apparently, the logic on the circuit board did a division operation when it should’ve been multiplying, and the result was you would be WAY off on the volume with the default settings. Of course I tried it anyway, and indeed confirmed the meter was reading “1 gallon” when my marked pitcher showed it had only dispensed about 1/4 of a gallon.
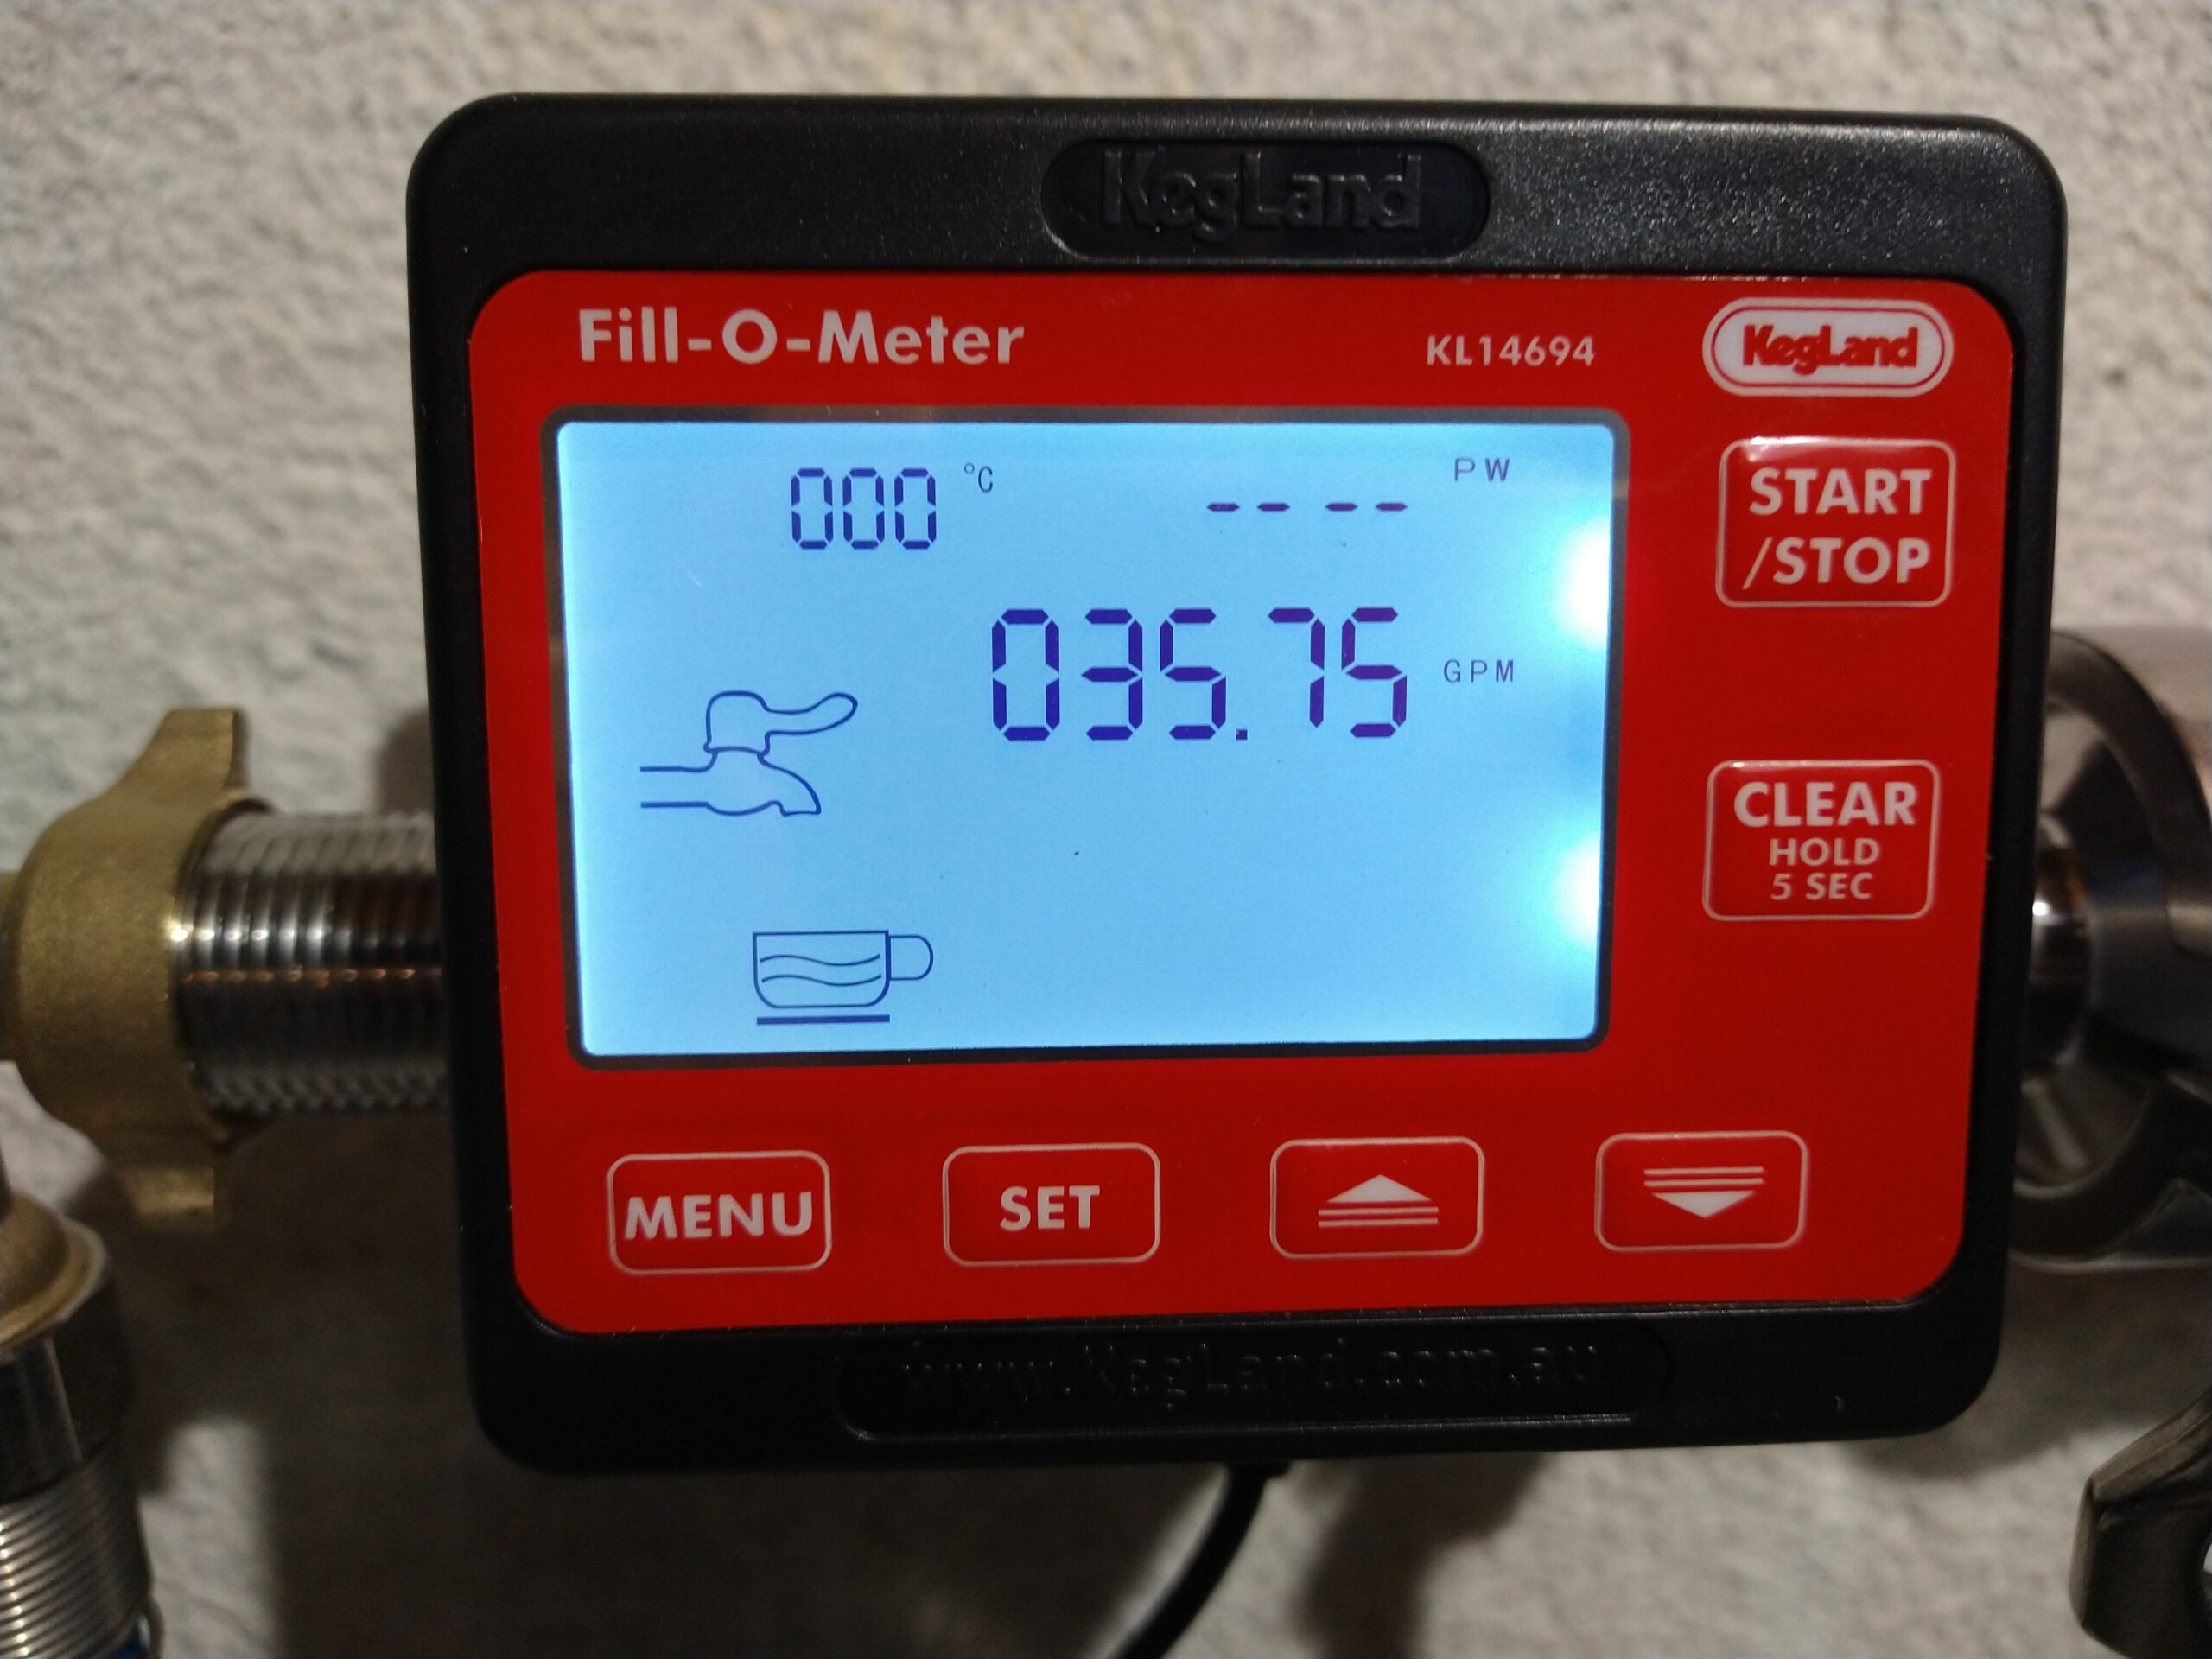
I downloaded the Fill-O-Meter’s manual and used the Calibration instructions while doing the steps below (manual link below). I programmed in 1.0 gallon fill, then set my hose into the pitcher I decided would be my “gold standard” for a gallon of water. If it was above or below the level mark, I followed the calibration directions, adjusted the K-factor number, and repeated the cycle until I was happy. The adjustment process was a bit tedious, but I was impressed with the repeatability of the unit. I don’t have any measurable/objective data on this, but once I found my final k-factor value, it was spot on every time. If I adjusted the water pressure going to the Fill-O-Meter, it did create a slight variation (approximately 0.05 gallons), so I recommend going through this tuning process and leaving your supply pressure the same. To get you started with a good number, my tuning ended up with a K-factor constant of 35.75.
KL14694 – Fill-O-Meter Instruction Manual
One interesting thing I discovered after I had the volume dialed in was that the stamped volume markings on my all-in-one unit was off by about 0.3 gallons. Once I double checked it against various volume-marked things I had in the brewery and confirmed it was indeed this all-in-one unit that was off. Not the end of the world, of course, but with the consistency of the Fill-O-Meter supplying the water for both strike and mash, I had confidence that no matter which vessel I was using, my water volume was the same.
I used the Fill-O-Meter on several brew days, and it charmed its way into my heart. My Brewfather recipes spit out a ridiculously specific volume for water volumes (like 4.43 gallons of strike in the mash and 4.74 gallons of sparge water). This was no problem, as I could just enter that value into the meter, hang the hose over the side of the vessel and hit go. The solenoid clicked open, water flowed in, and it kept tabs on things to shut it off precisely at the end. It’s a small pleasure, to be sure, but it was nice to make that part of prep less tedious as I would set it to filling the kettle and then go and start weighing out brewing salt additions.
Conclusions
Now you could rightly argue that you don’t need volume measurements to be so accurate, or so repeatable to brew a good beer. But the convenience factor is nice with just punching in the exact volume from your recipe, and the ability to fill a vessel unattended. If you use a slow flow rate due to water filter set-up, the set & forget aspect probably is an even bigger convenience than the ~8-10-minute fills I did. Its repeatability and accuracy (once you tune the calibration constant) were phenomenal, which again may be more important for you depending on how you’re using your water. As with all things in brewing, make sure you have a specific purpose in mind before pulling the trigger. But if you have a need for something like this, it does stand out as unique in the market.
Check Current Price & Availability:
Fill-O-Meter – Water Measuring Flow Meter Device BE671 – at MoreBeer
More Photos:
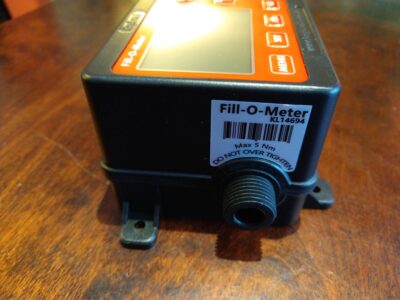 Threaded Outlet Port
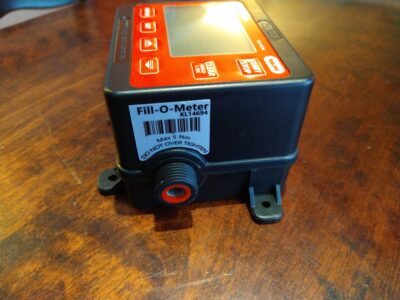 Threaded Inlet Port with Filter Screen
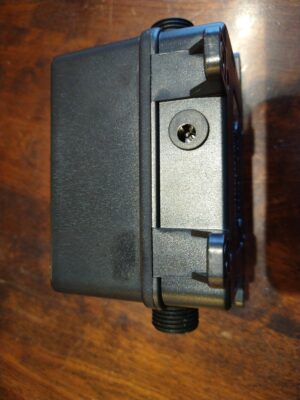 Power Supply Connection
More Kegland Gear Reviews!
More Homebrew Finds!
- Last 50 Finds!
- Top Deals – a curated list of the best deals
- Homebrew Reviews – one of the largest libraries of homebrew reviews in existence!
- Our Top Posts – tips, how-tos, resources posts and more
- Let’s be Friends!
Recent Deals!
10 Most Recent Homebrew Resource Posts & How-To’s!
We are Homebrew Review HQ! Our 10 Most Recent Reviews
pinnedThis post may contain affiliate links. We may make a commission when you use our links. This will never cost you extra. Thank you for supporting Homebrew Finds!
greatdealsBy Brad Probert. Check out Brad’s website – beersnobby.com
Special Thanks to Kegland and MoreBeer for providing the unit used for evaluation in this review.
Price, promotions and availability can change quickly. Check the product page for current price, description and availability.
Make sure the components you use are compatible and rated for your intended application. Contact manufacturer with questions about suitability or a specific application. Always read and follow manufacturer directions. tag:lnksfxd review:klfomtr tag:tpr
