Hands on Review: Oktober Design SL1 Can Seamer – Can Your Homebrew!
Updated: February 19, 2025
Oktober Design was started in 2014 by a group of engineers and beer lovers. They make high quality, well thought out and affordable Crowler and Can seamers. Their target has been brew pubs and smaller commercial brewers. With the introduction of the SL1 they’ve finally made a machine designed specifically for homebrewers.
Before Oktober Designs and similar started making countertop can seamers, canning beer was out of reach and unrealistic for homebrewers and even some smaller brew pub operations. I looked into canning early in my homebrewing career. Around that time a manufacturer released an “affordable” system that was in the $10k, range. That was considered affordable at the time. I’m happy to say that times have changed.
Related: Can Your Homebrew for LESS, Check out Cannular:
Deals on Cannular are rare. MoreBeer periodically offers a discount
- Cannular Canning Machine – via William’s Brewing – search Cannular
- Cannular Bench Top Can Seamer CAN100 – via MoreBeer – search Cannular
- Cannular Bench Top Can Seamer – USED REFURBISHED CAN100-URFB < periodically refurbished units are available at a discount
- Cannular Pro Semi-Auto Bench Top Can Seamer CAN110
- Cannular Pro Semi-Auto Bench Top Can Seamer – USED REFURBISHED CAN110-URFB < periodically refurbished units are available at a discount
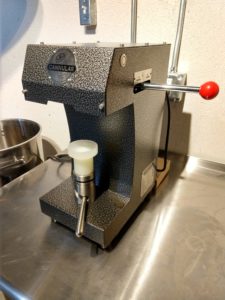 Hands on Review: Kegland Cannular Bench Top Can Seamer – Homebrew Canner
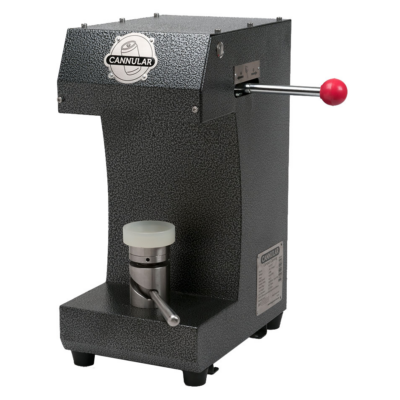 Cannular Canning Machine via William’s Brewing
Why Can?
Cans block all light and oxygen transfer. That’s not true of bottles. They also play well at the park, beach and pool. Glass bottles are made from breakable glass that can… break. 🙂 Canning is also… cool. We’ve been able to pretty easily do everything that commercial brewers have been able to do – Conicals, Control Panels, Fermenting Under Pressure and More – for quite some time. Canning, until recently, was a hold out.
Even with new equipment like the SL1 becoming available, canning is more expensive than bottling. You can save used bottles for free and use a $10 capper. This means that doing things as cheap as possible cannot be a driving factor when considering a can seamer.
Related Reviews:
- Hands on Review: Kegland Cannular Can and Bottle Filler!
- Hands on Review Nukatap Counter Pressure Bottle Filler!
- Hands on Review: Tapcooler Counter Pressure Bottle Filler for Forward Sealing Faucets
- Hands on Review DuoTights & EVABarrier
This article contains affiliate links. We may make a small percentage if you use our links to make a purchase. You won’t pay more and you’ll be supporting Homebrew Finds and more content like this. Thank you for your support!
How to fill cans for use with your homebrew canner
Of course, you can fill cans with uncarbonated beer, add priming sugar and naturally carbonate. My assumption is that if you’re going to make the investment in a canner, odds are good that you’re probably kegging. So, let’s talk about a few ways to fill cans from a keg.
- Kegland Cannular Can and Bottle Filler!
- Nukatap Counter Pressure Bottle Filler!
- Tapcooler Counter Pressure Bottle Filler for Forward Sealing Faucets
- Tapcooler + Canning Station = counter-pressure filling. Complete Tapcooler Lineup – at MoreBeer – at Great Fermentations
- Reduce Keg Pressure and do a slow pour directly into a can – this probably only makes sense if you’re filling a quick can or two to take somewhere
- The same techniques and equipment that you use when filling a growler
- Quick Fill from Tap Using a Length of Tubing
- Blichmann Beer Gun
Hands on Review Oktober Design SL1 Homebrew Can Seamer
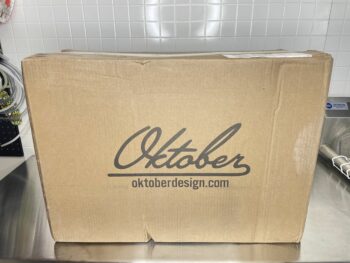 In the box
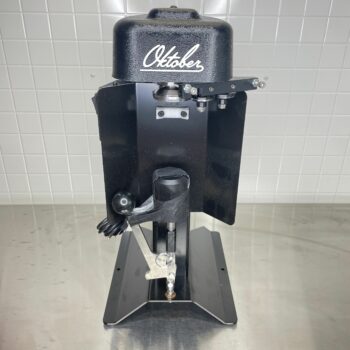 How mine came out of the box. The only real setup was removing the tape from the bottom lever, installing the top lever and wiping down the SL1 to clean up some lubricant and dust.
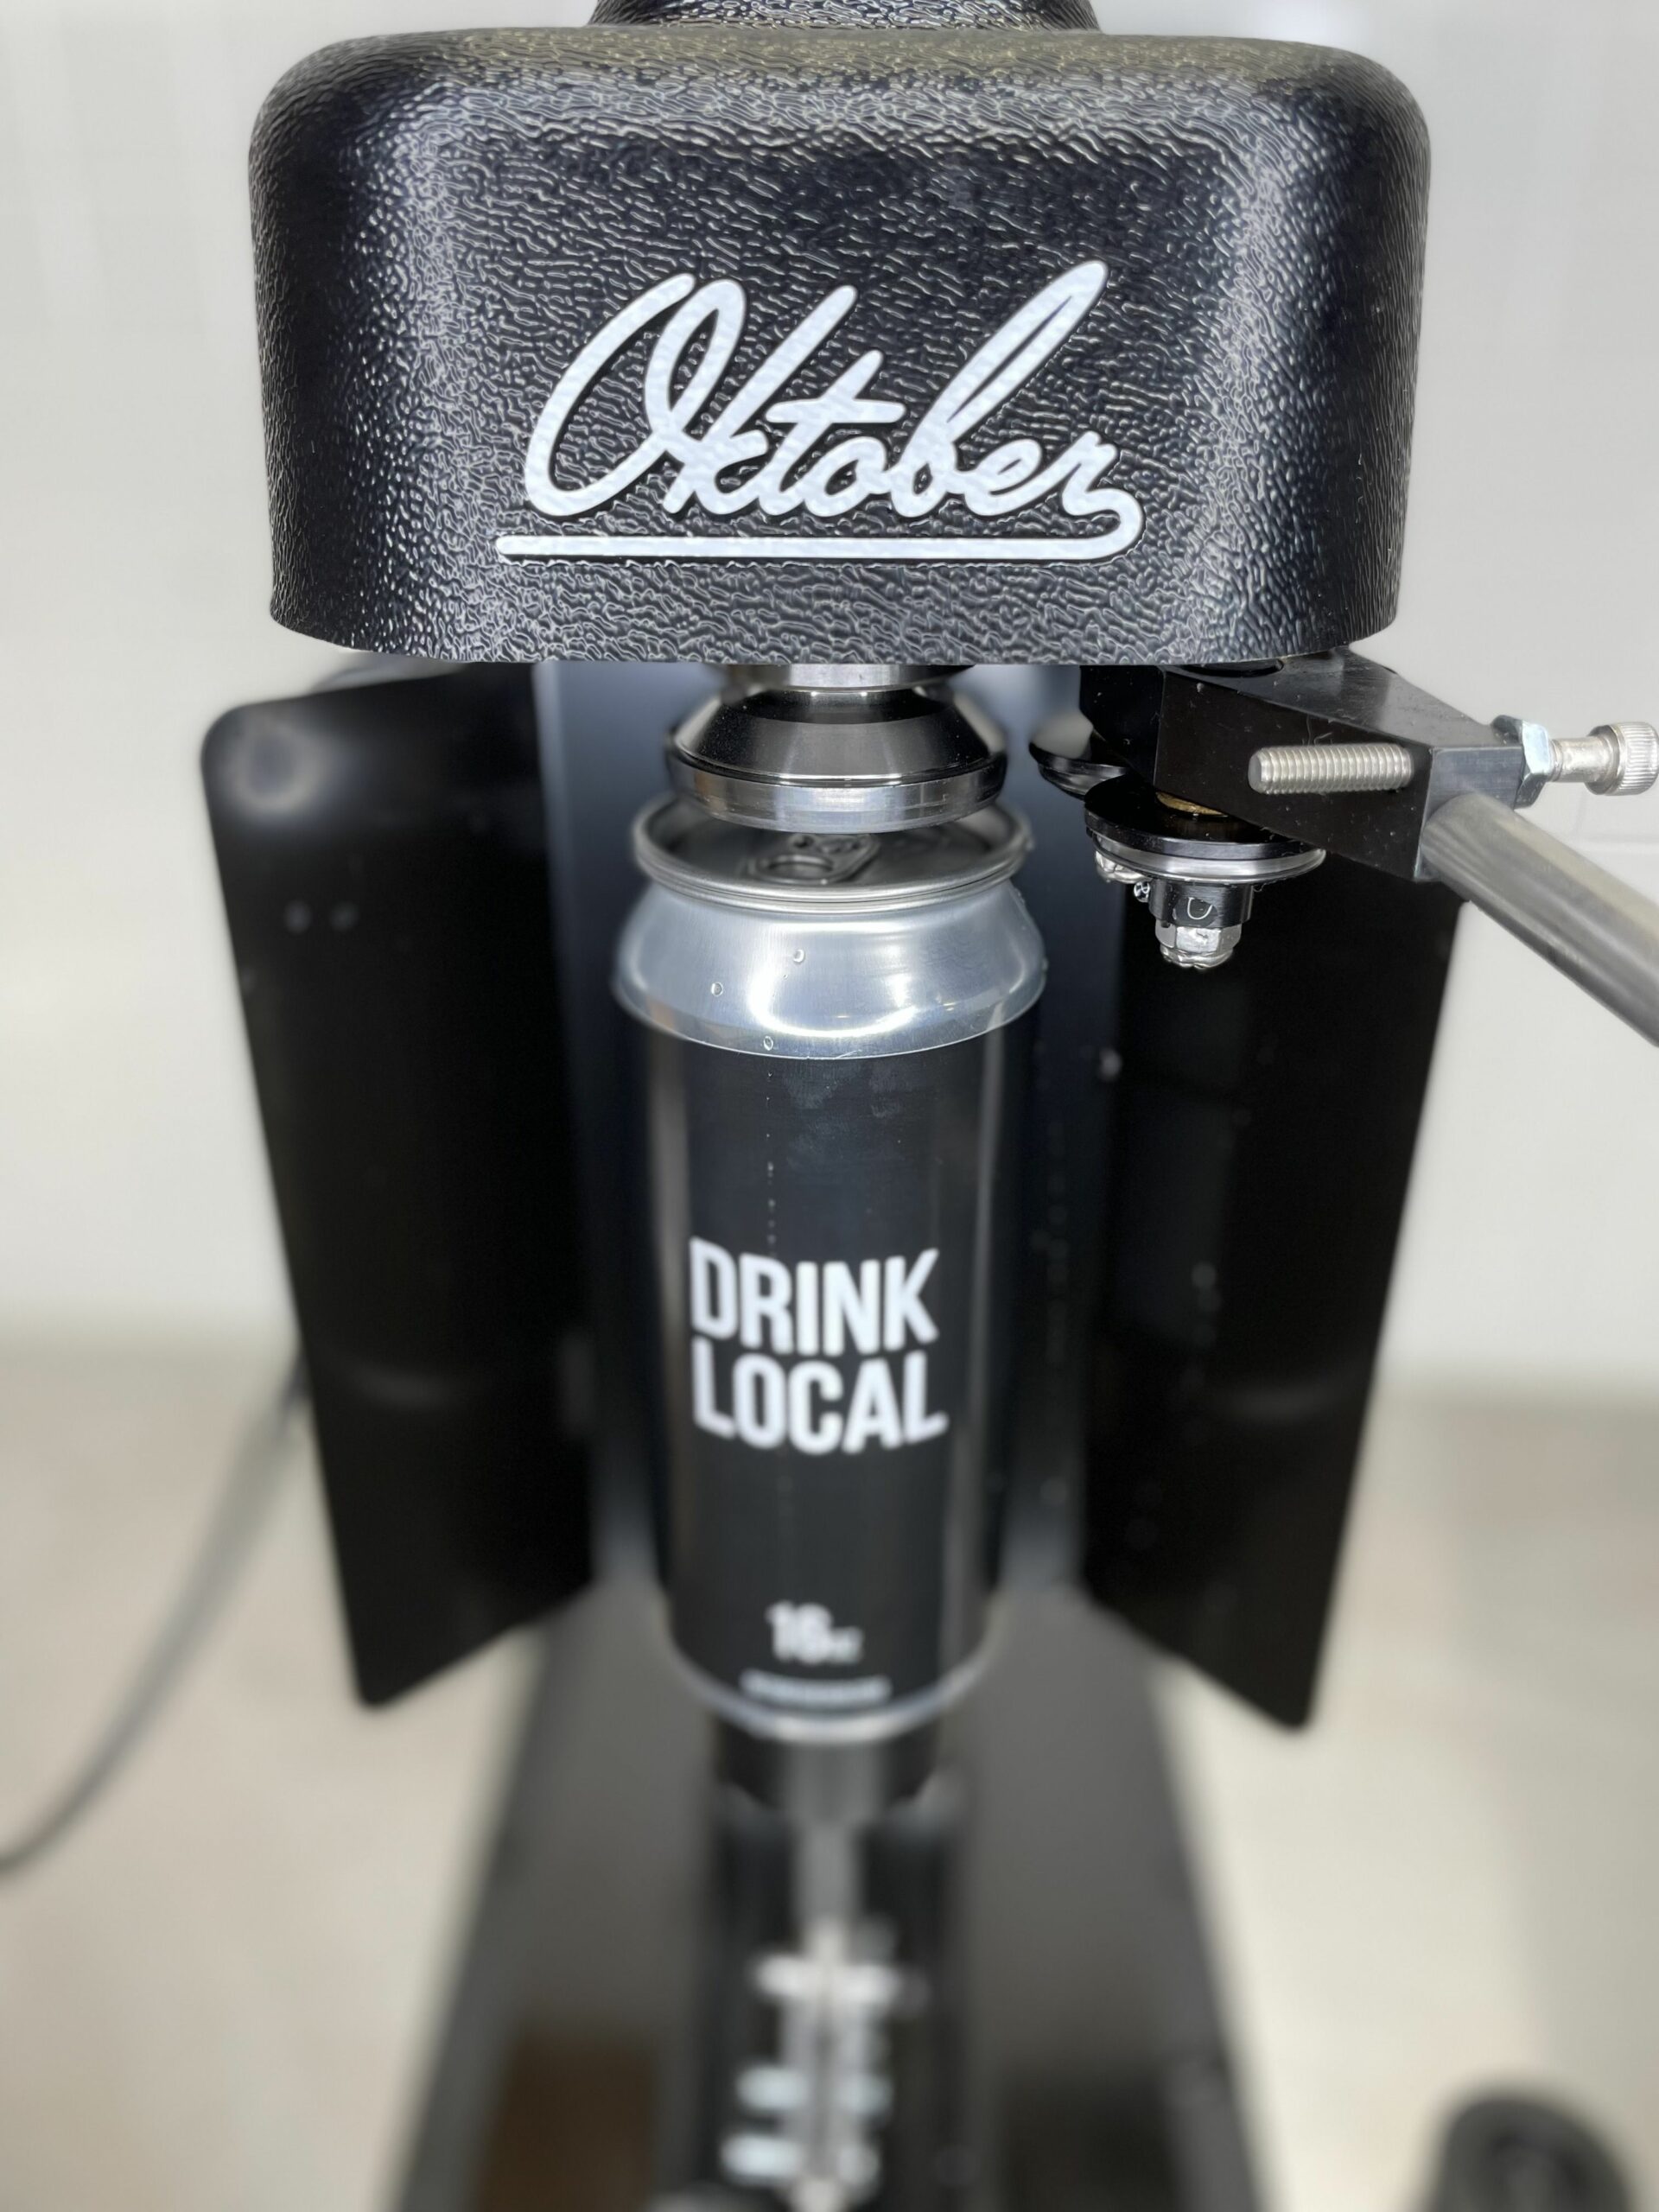
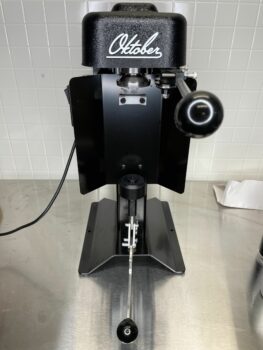 Front view. The SL1 has two levers. The bottom lever raises the filled can up and locks it in place. The top lever seals cans.
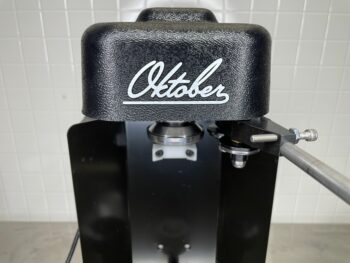 Close up of the top part of the canner
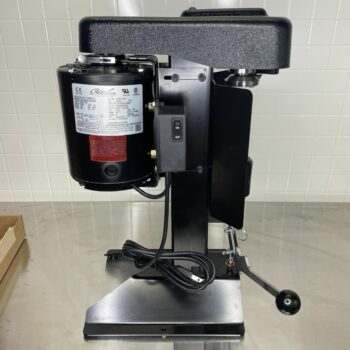 Side view
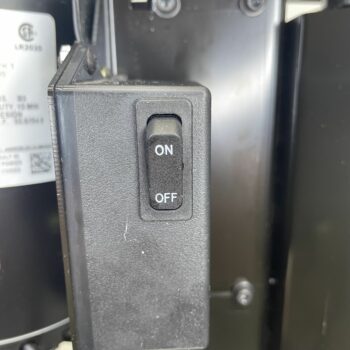 Close up of the on/off switch. This is engaged and disengaged each time a can is seamed.
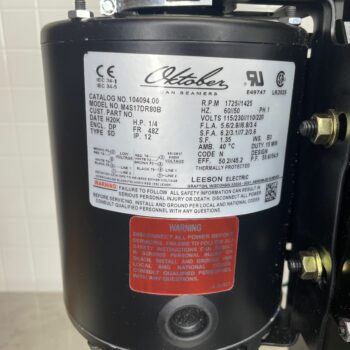 Close up of the motor. The SL1 is… BEEFY. It’s for homebrew use, but you can tell that it comes from commercial roots. I’m not a motor-size expert sort of a person :), but I feel like they could have gotten away with a smaller motor. The SL1 has plenty of power and the whole setup just seems well put together.
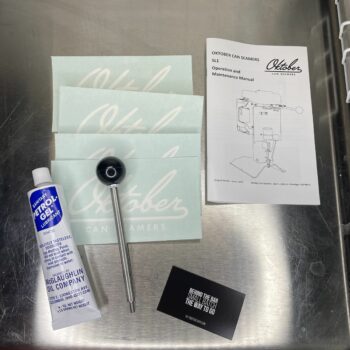 Stuff that comes with it… seamer lever, food grade lubricant, some stickers and the manual manual (link to PDF manual below). The seamer lever comes uninstalled and easily screws in place.
Three Positions to Seam
The SL1 top lever has three general positions. Position 0, 1 and 2. Working through those positions while a can is locked in place and spinning seals the can.
 Position 0, what I would call neutral, the level is facing forward-ish, in the middle of positions 1 and 2.
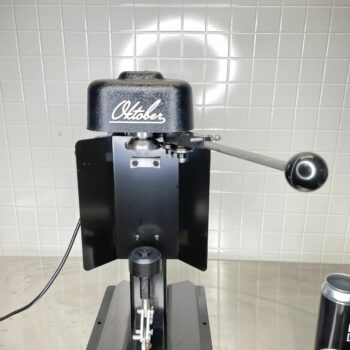 Position 1, far right
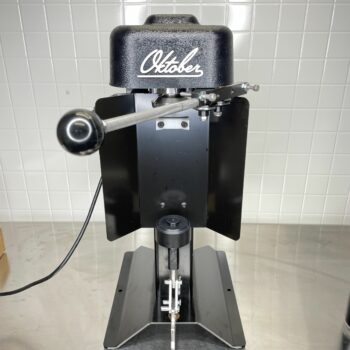 Position 2, far left
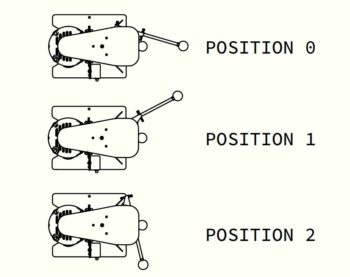 Positions as described in the manual
Cans and Lids
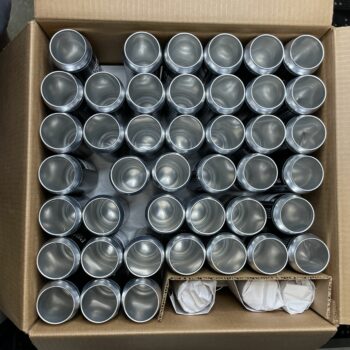 The SL1 can seam 12 and 16 ounce cans. Sadly, it cannot seam Crowlers. I got 16 ounce cans.
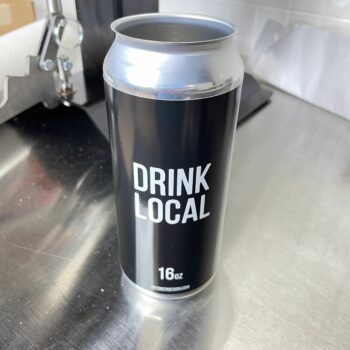 When I first looked into canning, empty cans were sold by the… truckload. Or some other similarly massive quantity. Oktober Designs sells cans in homebrewer-friendly quantities. They are available blank and can also be customized. The SL1 will also seal compatible cans from other sources. Check out the Tips section below a tip on getting economical empty cans.
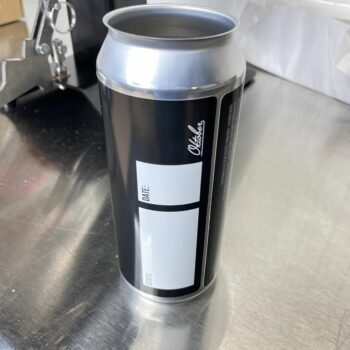 My cans feature a Drink Local Design and have an area write details about the Beer.
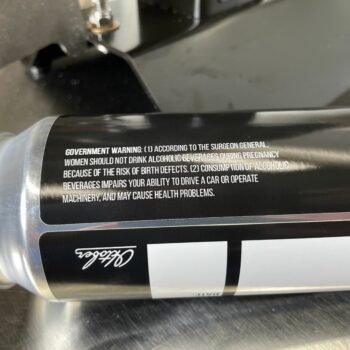 These also feature a government warning, which may or may not be helpful or applicable where you live.
GrogTag Can Labels
GrogTag produces professional quality, REUSABLE can labels. You can use their online design tools to upload your custom design or start with one of their templates
Custom Beer Can Labels from GrogTag
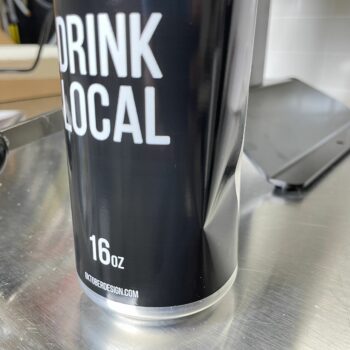 As robust as a filled can seems, they’re more fragile when they’re empty. a certain number of cans are going to be dented or dinged. The ones I’ve run into so far are minor that have been easily popped out.
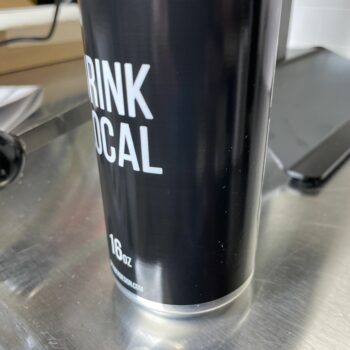 This dent popped out easily.
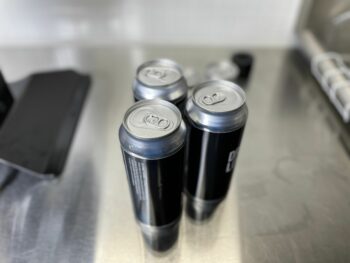
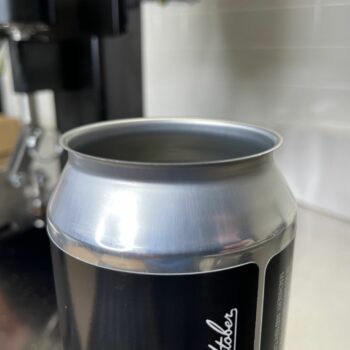 A closer look at the top of the unseamed can
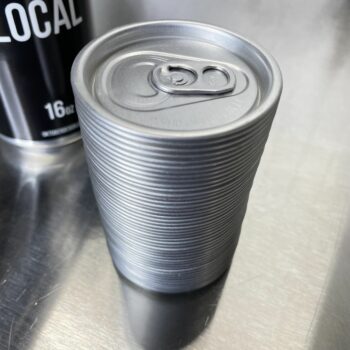 Stack of can tops
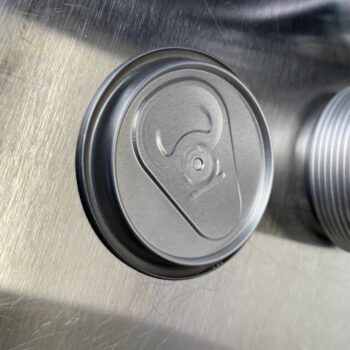 Back side of a can top
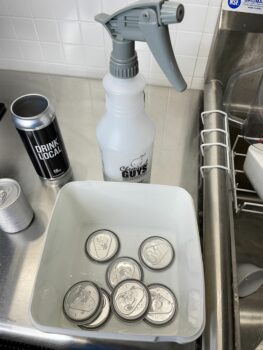 Tops being sanitized with Star San – Related: Hands On Review: Chemical Guys Chemical Resistant Heavy Duty Bottle & Sprayer + Star San Tips & Tricks
More About Compatible SL1 Compatible Cans and Tops
The Oktober SL1 Homebrewer Can Seamer is designed to seam aluminum beverage cans with size 202 ends (tops) with the B64 style profile. SL1 Homebrewer comes standard with adapters for 16oz and 12oz cans. Because the seamer shares the same upper and lower chucks and adapters as Model 7 – B can seamers, it can optionally be set up for CDL and SuperEnd® (360 end®) profile ends (excluding size 200 ends), as well as optional can sizes like 500ml, 8oz “stubby”, etc.
Seaming Cans with the SL1
Sealing Cans with the SL1 is… easy. It’s a matter of putting a filled can and top in the seamer, locking the can in place, turning the seamer on and running through three lever positions.
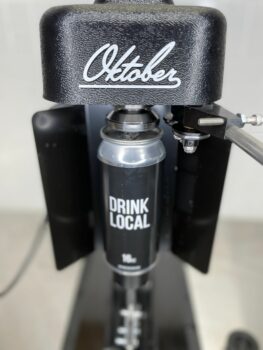 If you look closely, there’s a problem here. See the Tips section for more.
This video show the SL1 turned on and running
SL1 in loaded, turned on with level in Position 0
SL1 Position 1
SL1 in Position 2… that’s all!
How to Seam with Your Oktober SL1 Homebrewer Can Seamer
Complete Step by Step How-To from Oktober Design
SL1 for Commercial Brewers?
When explaining the differences between their Model 7 and the SL1, Oktober Design says… “The SL1 was specifically designed for less frequent use and requires a bit more routine maintenance, making it less ideal for commercial applications.”
Lessons Learned & SL1 Seaming Tips
My first can seam was a fail. After my first fail I… opened the manual. After reading the process and three positions, my second can seam was perfect and… easy.
As I continued, I started getting some bad seals and some slight can crushing. It was maybe every other can and it was frustrating. Upon closer inspection, I was grabbing two tops. When I realized this, things were great again. If you look closely in this photo, you’ll see the can has two tops. So, this was an easy fix… one top per can.
Tips:
- Plan on doing a few test cans before moving on to beer or cider.
- Fill test cans with water, empty cans have a tendency to crush.
- Tops can stick together, make sure you’re just getting one.
- Much like one of our tips on getting the best deal on a sack of grain… make friends with your local brewery and they just may give you a great deal on unlabeled cans to use with your SL1.
- Any easy way to do a quick check of how your cans are sealing is to squeeze a sealed can.
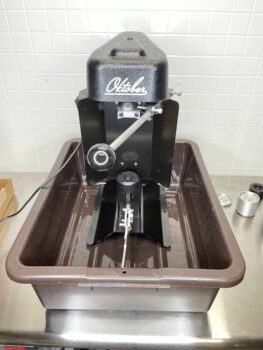
- When you’re seaming a few cans to take to a get together, cleanup will generally be quick and easy. A quick wipe down of your SL1 and table. If you’re going to can an entire batch it may be helpful to use a tray or tub to catch drips. If you’ve read Homebrew Finds for long, you know I use these bus tubs (pictured below) for lots of things around the homebrewery. Bus Tubs for Brew Day & Beyond – Save Time and Effort When You Homebrew and A Great Way to Store Your Mark II Keg & Carboy Washer
SL1 User Manual
PDF: Oktoberdesign SL1 Can Seamer Manual
Conclusions
I’ve been wanting an Oktober Design Can seamer for years. It did not disappoint. It’s super well built and (after reading the manual) easy to use and reliable. It is an investment, but I’m excited that Oktober Designs has come out with a model designed specifically for homebrewers. Is the SL1 a must-have? No. But, if you’re looking to treat yourself and want your beer to look awesome, the SL1 from Oktober Designs is worth a hard look.
Check Pricing & Availability
SL1 Can Seamer via Oktober Design – Full Lineup of Oktober Design Can Seamers
Related: Can Your Homebrew for LESS, Check out Cannular:
Deals on Cannular are rare. MoreBeer periodically offers a discount
- Cannular Bench Top Can Seamer – USED REFURBISHED CAN100-URFB
- Cannular Bench Top Can Seamer CAN100
- Cannular Pro Semi-Auto Bench Top Can Seamer CAN110
- Cannular Pro Semi-Auto Bench Top Can Seamer – USED REFURBISHED CAN110-URFB
Hands on Review: Kegland Cannular Bench Top Can Seamer – Can Your Homebrew!
Related: Hands on Review Kegland Cannular Can and Bottle Filler
 Hands on Review: Kegland Cannular Can and Bottle Filler!
Get a Deal on Cans!
Compare: Oktober Designs SL1 vs Cannular
Hands on Review: Kegland Cannular Bench Top Can Seamer – Can Your Homebrew!
Tapcooler Counter Pressure Filler
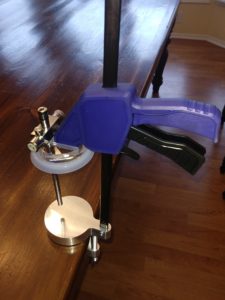 The Tapcooler is a Counter Pressure Bottle Filler designed to easily attach to compatible forward sealing faucets. The Tapcooler has an available Canning Station Add On. Check out our Hands on Review of the Tapcooler
More Homebrew Finds!
- Last 50 Finds!
- Top Deals – a curated list of the best deals
- Homebrew Reviews – one of the largest libraries of homebrew reviews in existence!
- Our Top Posts – tips, how-tos, resources posts and more
- Let’s be Friends!
Recent Deals!
10 Most Recent Homebrew Resource Posts & How-To’s!
We are Homebrew Review HQ! Our 10 Most Recent Reviews
Special Thanks to Oktober Design for providing the unit used for evaluation in this review.
pinnedThis post may contain affiliate links. We may make a commission when you use our links. This will never cost you extra. Thank you for supporting Homebrew Finds!
greatdealsMake sure the components you use are compatible and rated for your intended application. Contact manufacturer with questions about suitability or a specific application. Always read and follow manufacturer directions. tag:lnksfxd review:odsl1 tag:tpr
